
Creating an album...one step at a time
Taking a mess of photos and turning it into a story is such a gift, however sometimes, it can feel overwhelming. Getting started, like a lot of photo projects, can be the hardest part. My advice…take it one step at a time.
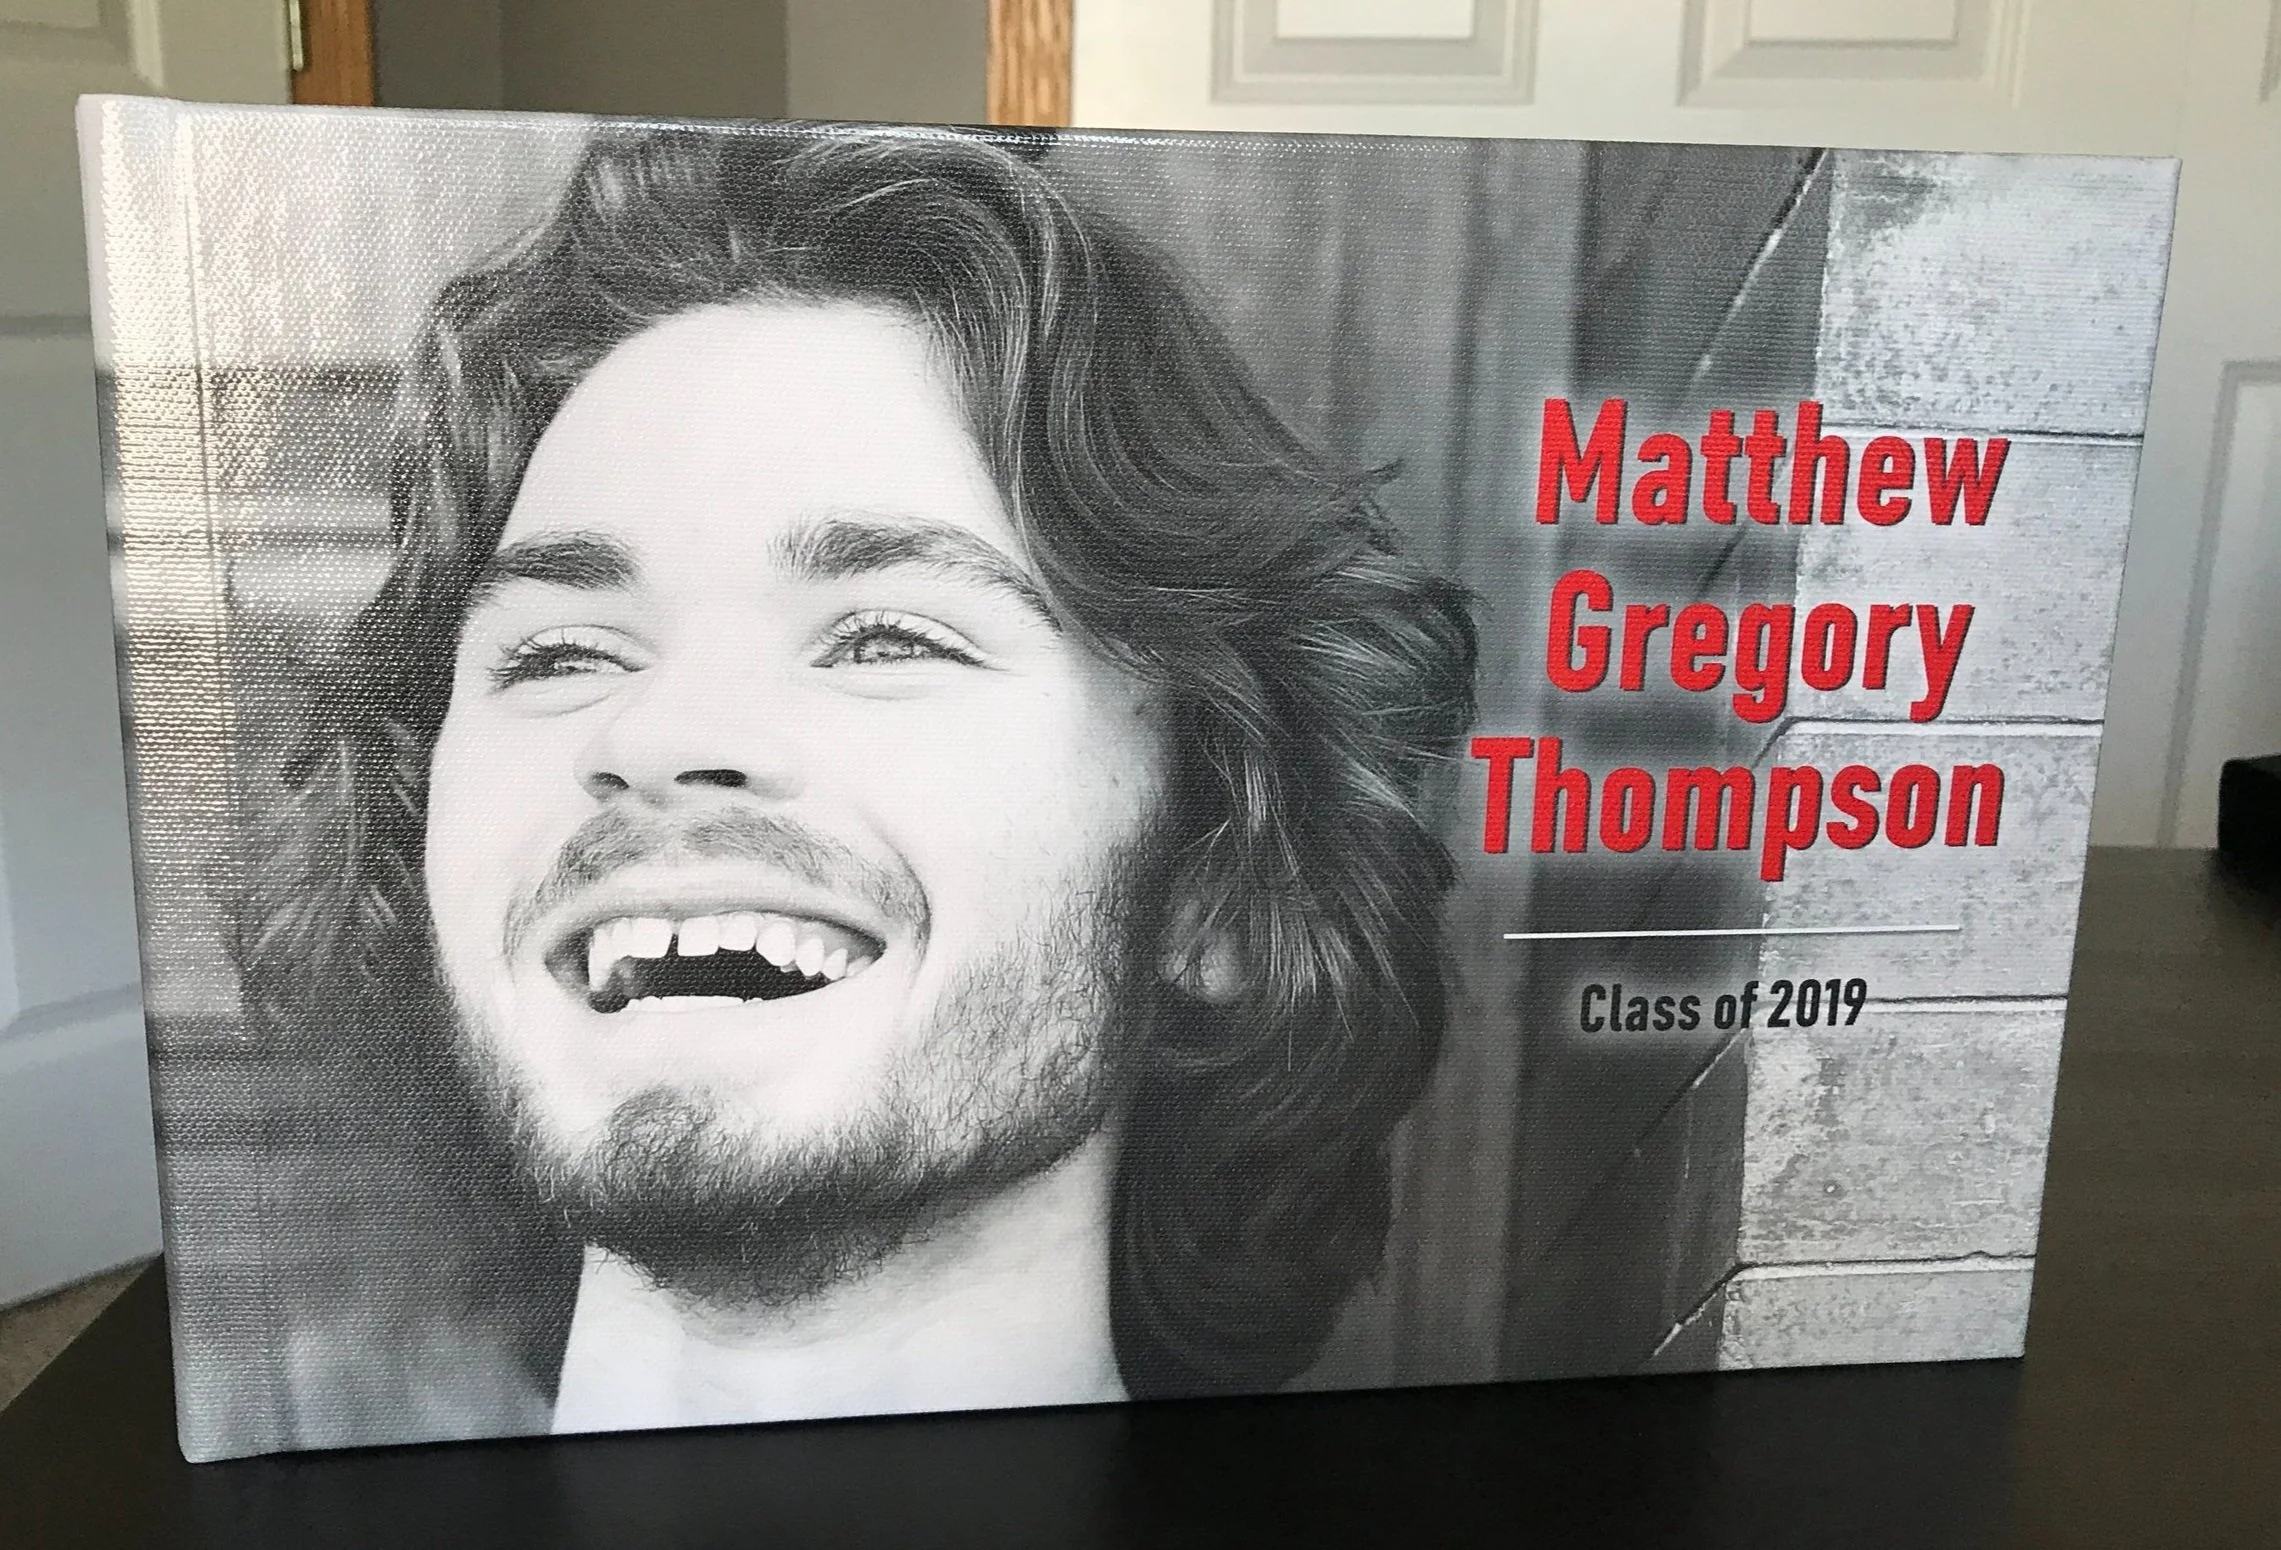
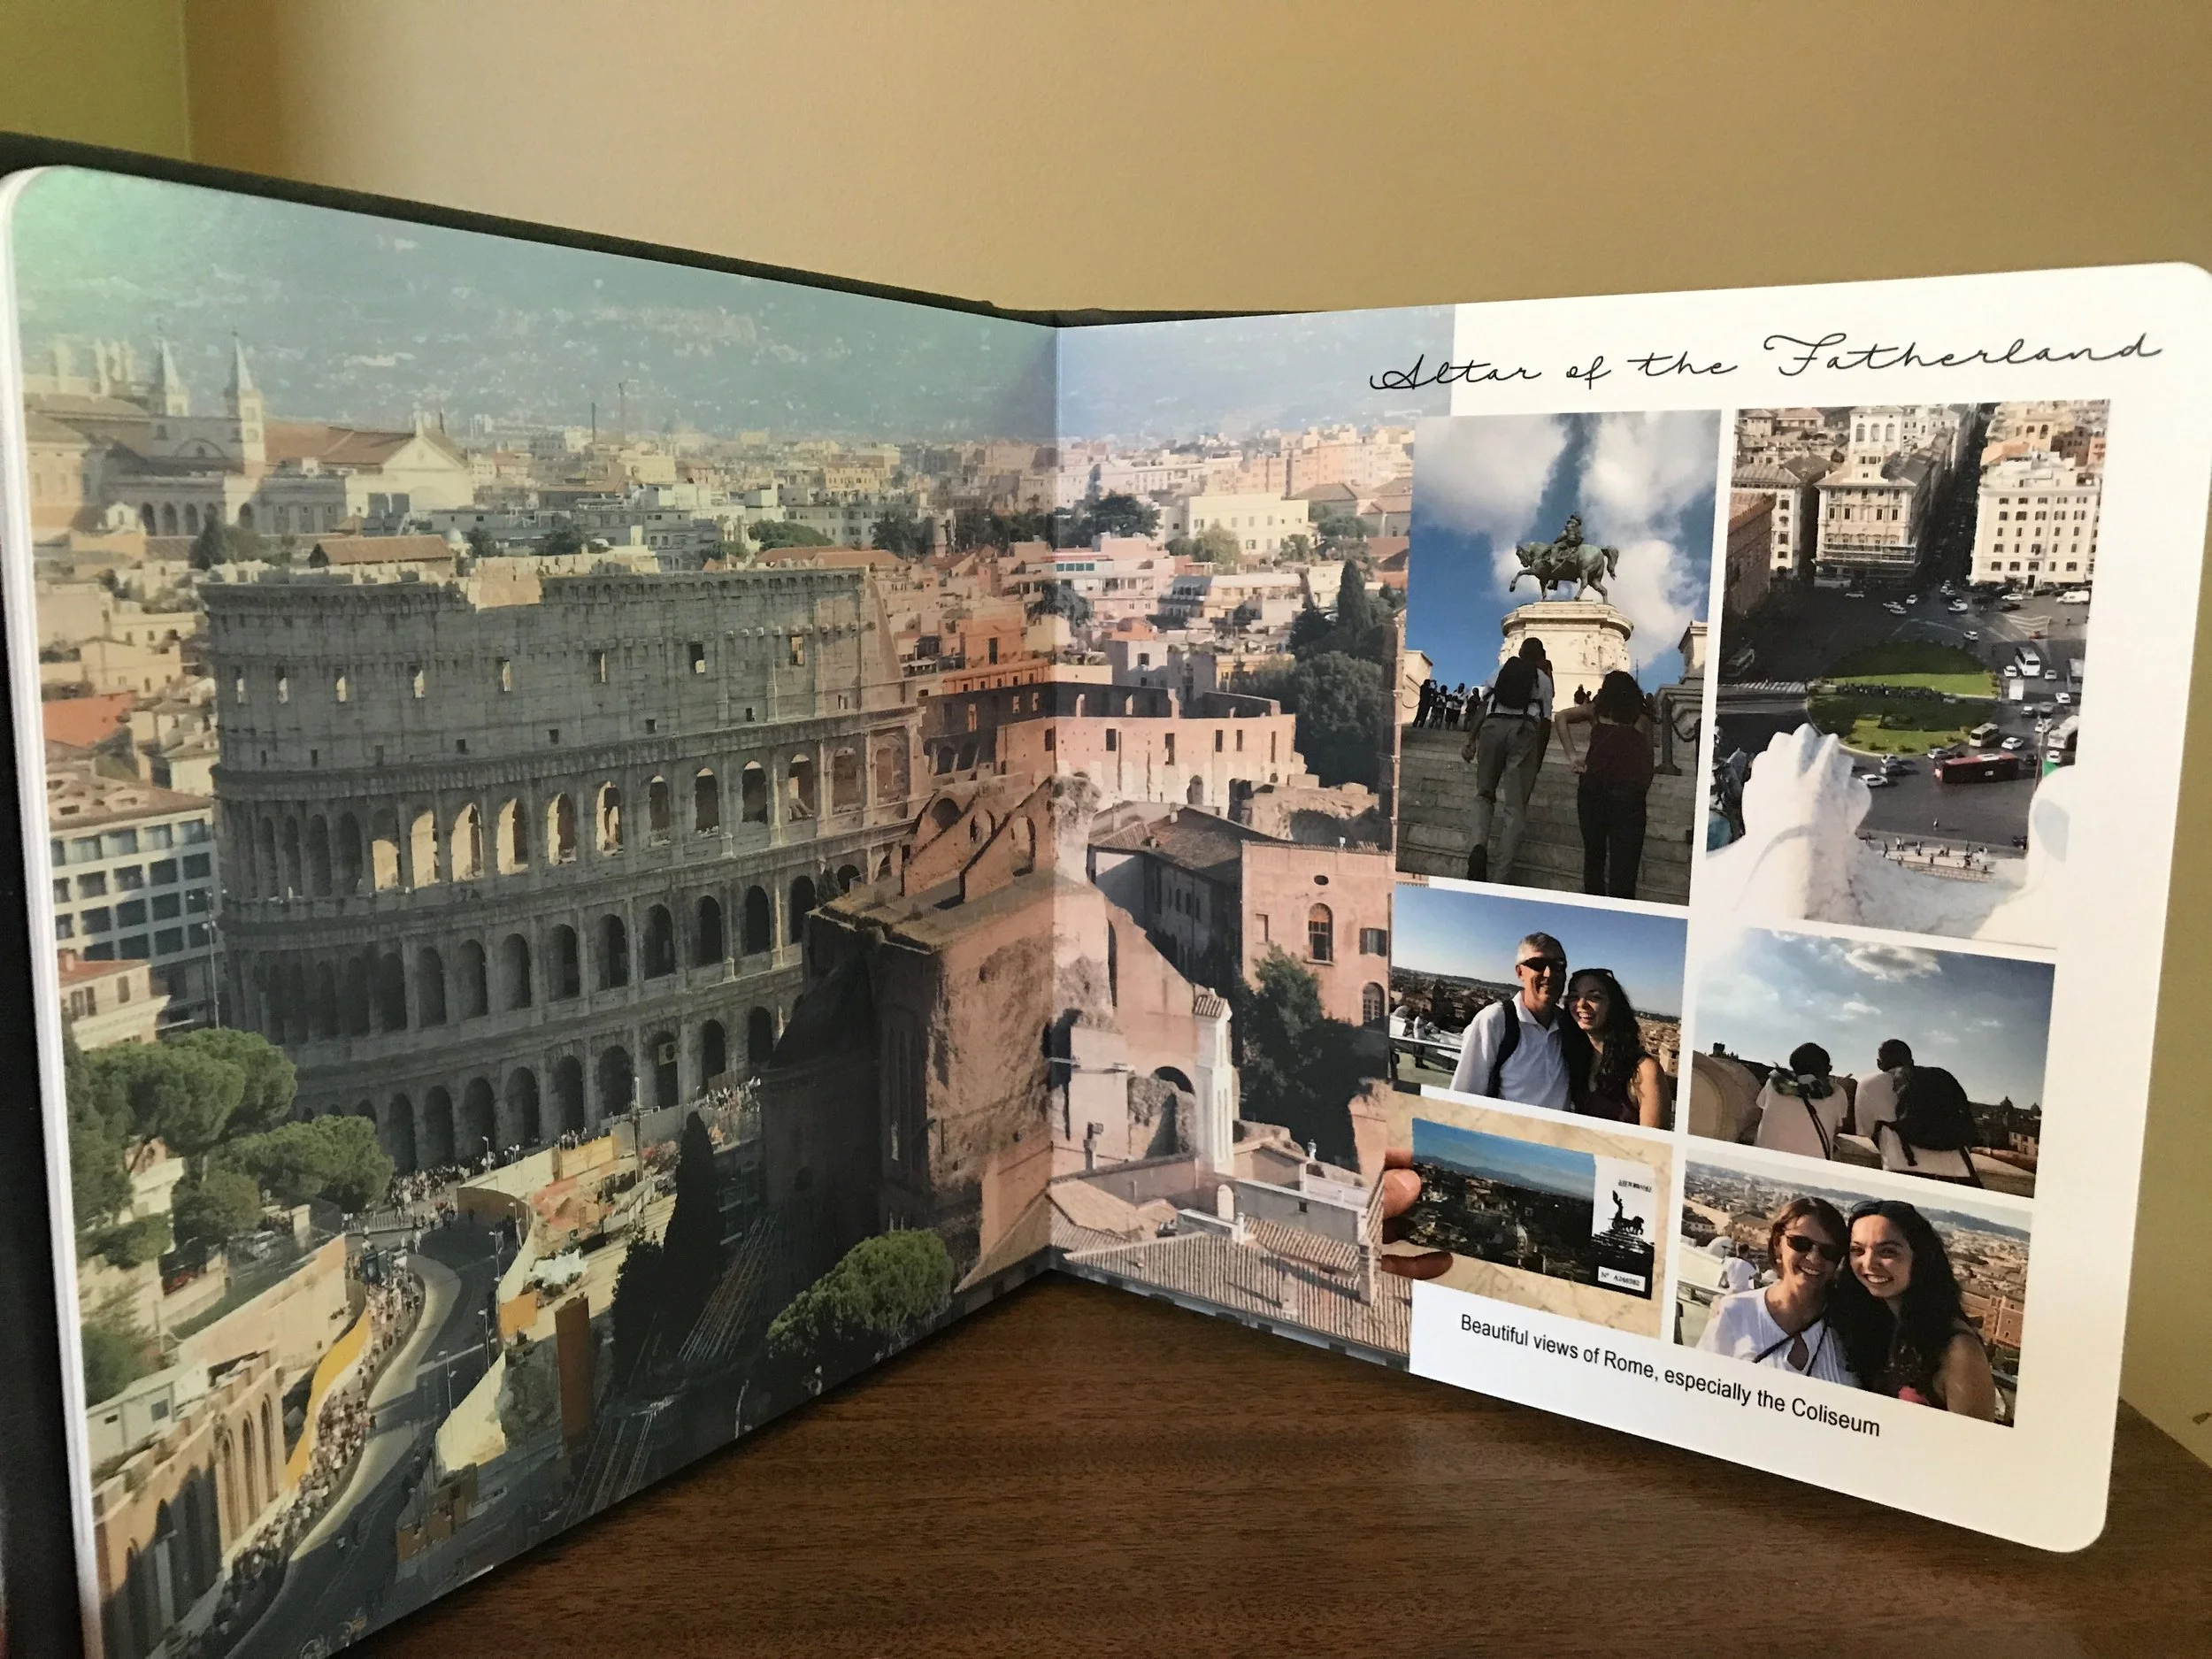
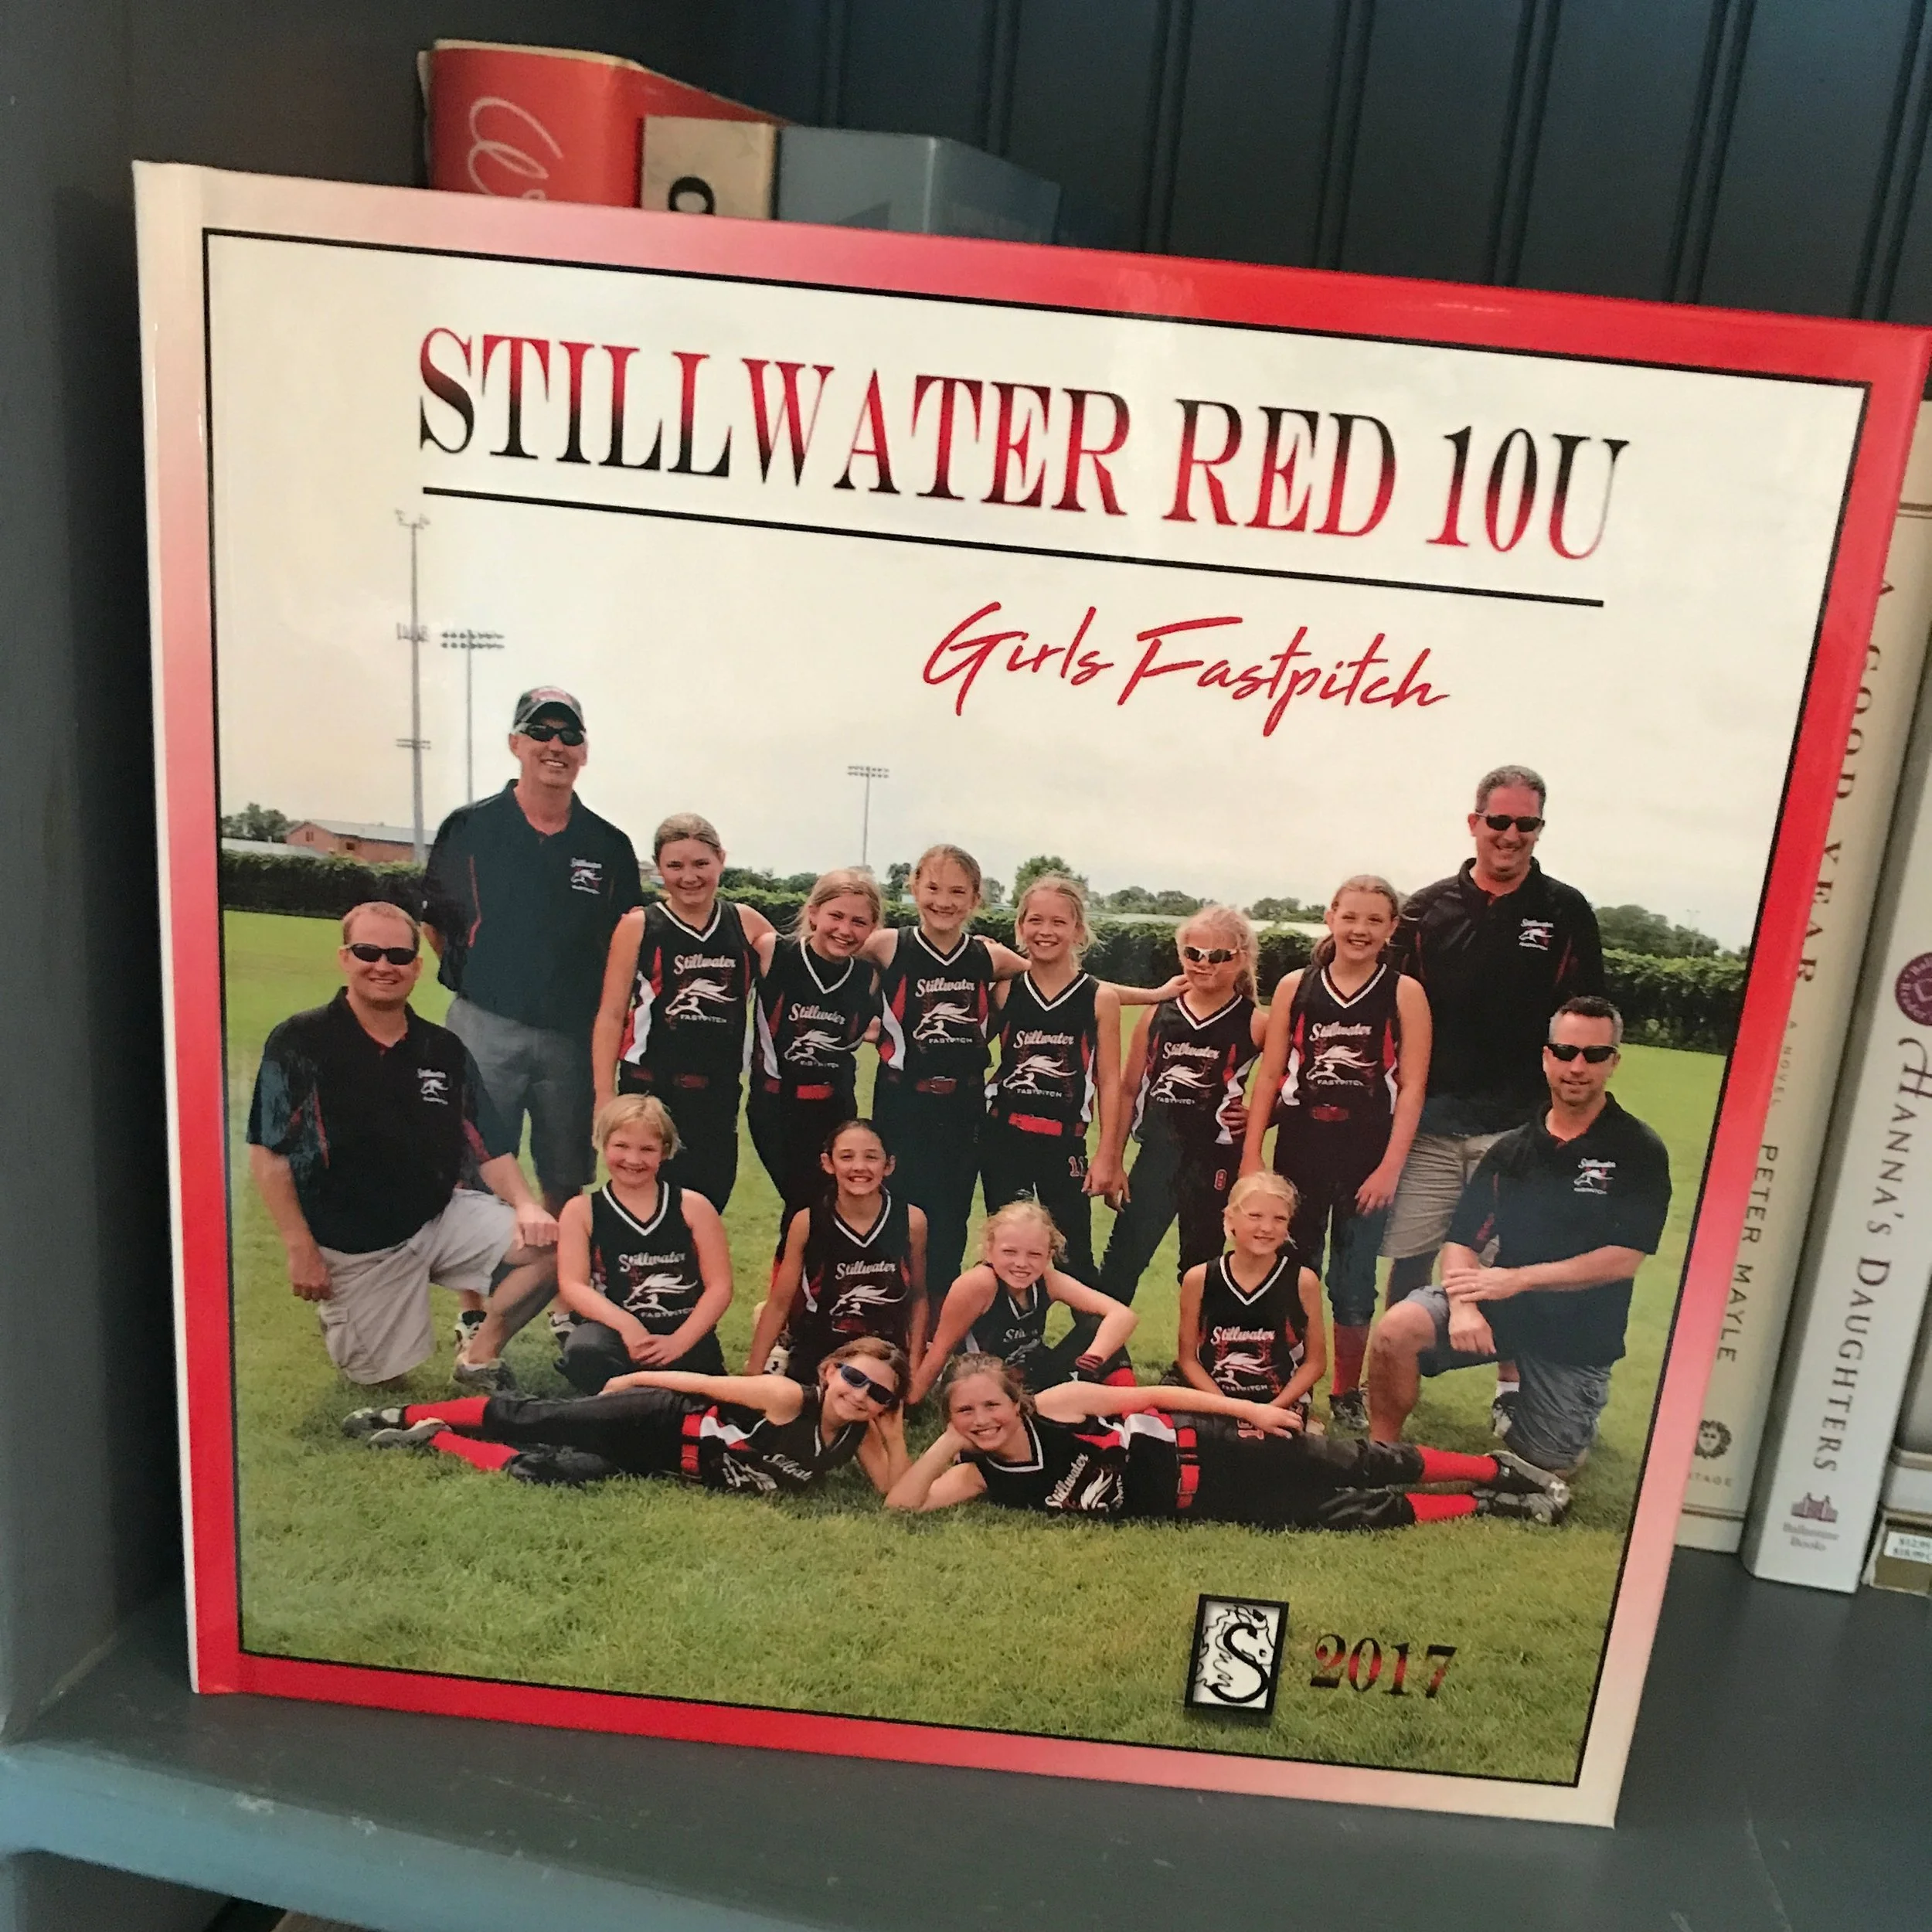
Step One: Define your project. DON’T try to tackle all of the pictures you’ve ever taken in life all at the same time. You will quickly be overwhelmed and likely give up. Choose a defined period of time or better yet, a defined project like a vacation or an album for someone you love. Success will bring you back. Click here for some types of albums to think about and ideas.
Step 2: Select your photos. In a perfect world, all of our pictures are in one organized place. If you don’t have this, put it on the to-do list, and STAY FOCUSED ON THIS PROJECT! I am really good at choosing other people’s pictures for albums, but I’m easily distracted when I sort my own memories.
To overcome this, try setting up a folder (digital or paper) and start adding pics that you MIGHT want to use. If you need to, set a timer to keep yourself focused. Sometimes you don’t know which pics you’ll want to use until you see them all in one place and the story starts to take shape, so don’t worry if you start with too many. It’ll be easier to pare them down later.
Step 3: Choose an album. Quality is important when you are selecting an album. You want it to last. While choosing the budget-friendly options are tempting, I promise you won’t regret spending a few extra dollars for an album that can be handled often and enjoyed.
There are 2 main types of printed albums:
Digital Albums - I love a digital album. Made with a software program on your computer or online, digital albums give you the option to be creative if you’d like, or get a project done very quickly by using the pre-designed templates so many online providers offer. One nice thing about digital is the ability to order multiple copies. The DIY sites that I recommend (because of their quality) for creating and printing digital albums are mpix and Mixbook.
Traditional Albums - These could include slide-in albums, which are great for just gettin’ it done, or scrapbook albums. For the slide-in albums, try leaving a ‘pocket’ open and adding an index card to journal the story your photos are telling. Paper scrapbook albums can be works of art (many of us have those talented friends), but they don’t have to be. If you love telling stories with your photos, try simply adding photos to the pages with some journaling. For quality printed photo albums, look for acid free and lignin-free on the labels.
Step 4: Create an outline and dive in! You can do it! My strategy is to put the pictures in the order that I think I want to use them. I then make a rough list or outline of the pages I want to include in the album. This might change, but it gives you a start and speeds things up to have a plan.
The biggest gift you can give yourself is scheduling time to get it done. Don’t just try to fit it in the cracks of your day or you’ll become frustrated.
Need some encouragement or need help to get it done? I’m here for you!
I’ve NEVER heard anyone say…”I wish I wouldn’t have created that album full of memories.”
You will be SO glad you did and likely touch some hearts in the process!

Holly Corbid is the Founder/Owner of Capture Your Photos, where we help you to organize, preserve, and share your lifetime of memories. Helping you touch hearts with your photos is our passion. We specialize in digital photo organization and work remotely with clients all over the country.
Holly is also the author of a series of online photo organizing courses. Learn more on our COURSES page.
Find us at www.captureyourphotos.com or contact us here.