
6 ideas for displaying photos at a funeral or memorial service
There is nothing quite like the emotion and stress that one feels when a loved one passes away. Not only are we trying to process the loss, but we are asked to take care of a million different tasks, including planning a memorial service. Remembering our loved ones with photos is often a part of that.
Pin this for reference later…
Here are 6 ideas and tips for how you can use photos to celebrate a life.
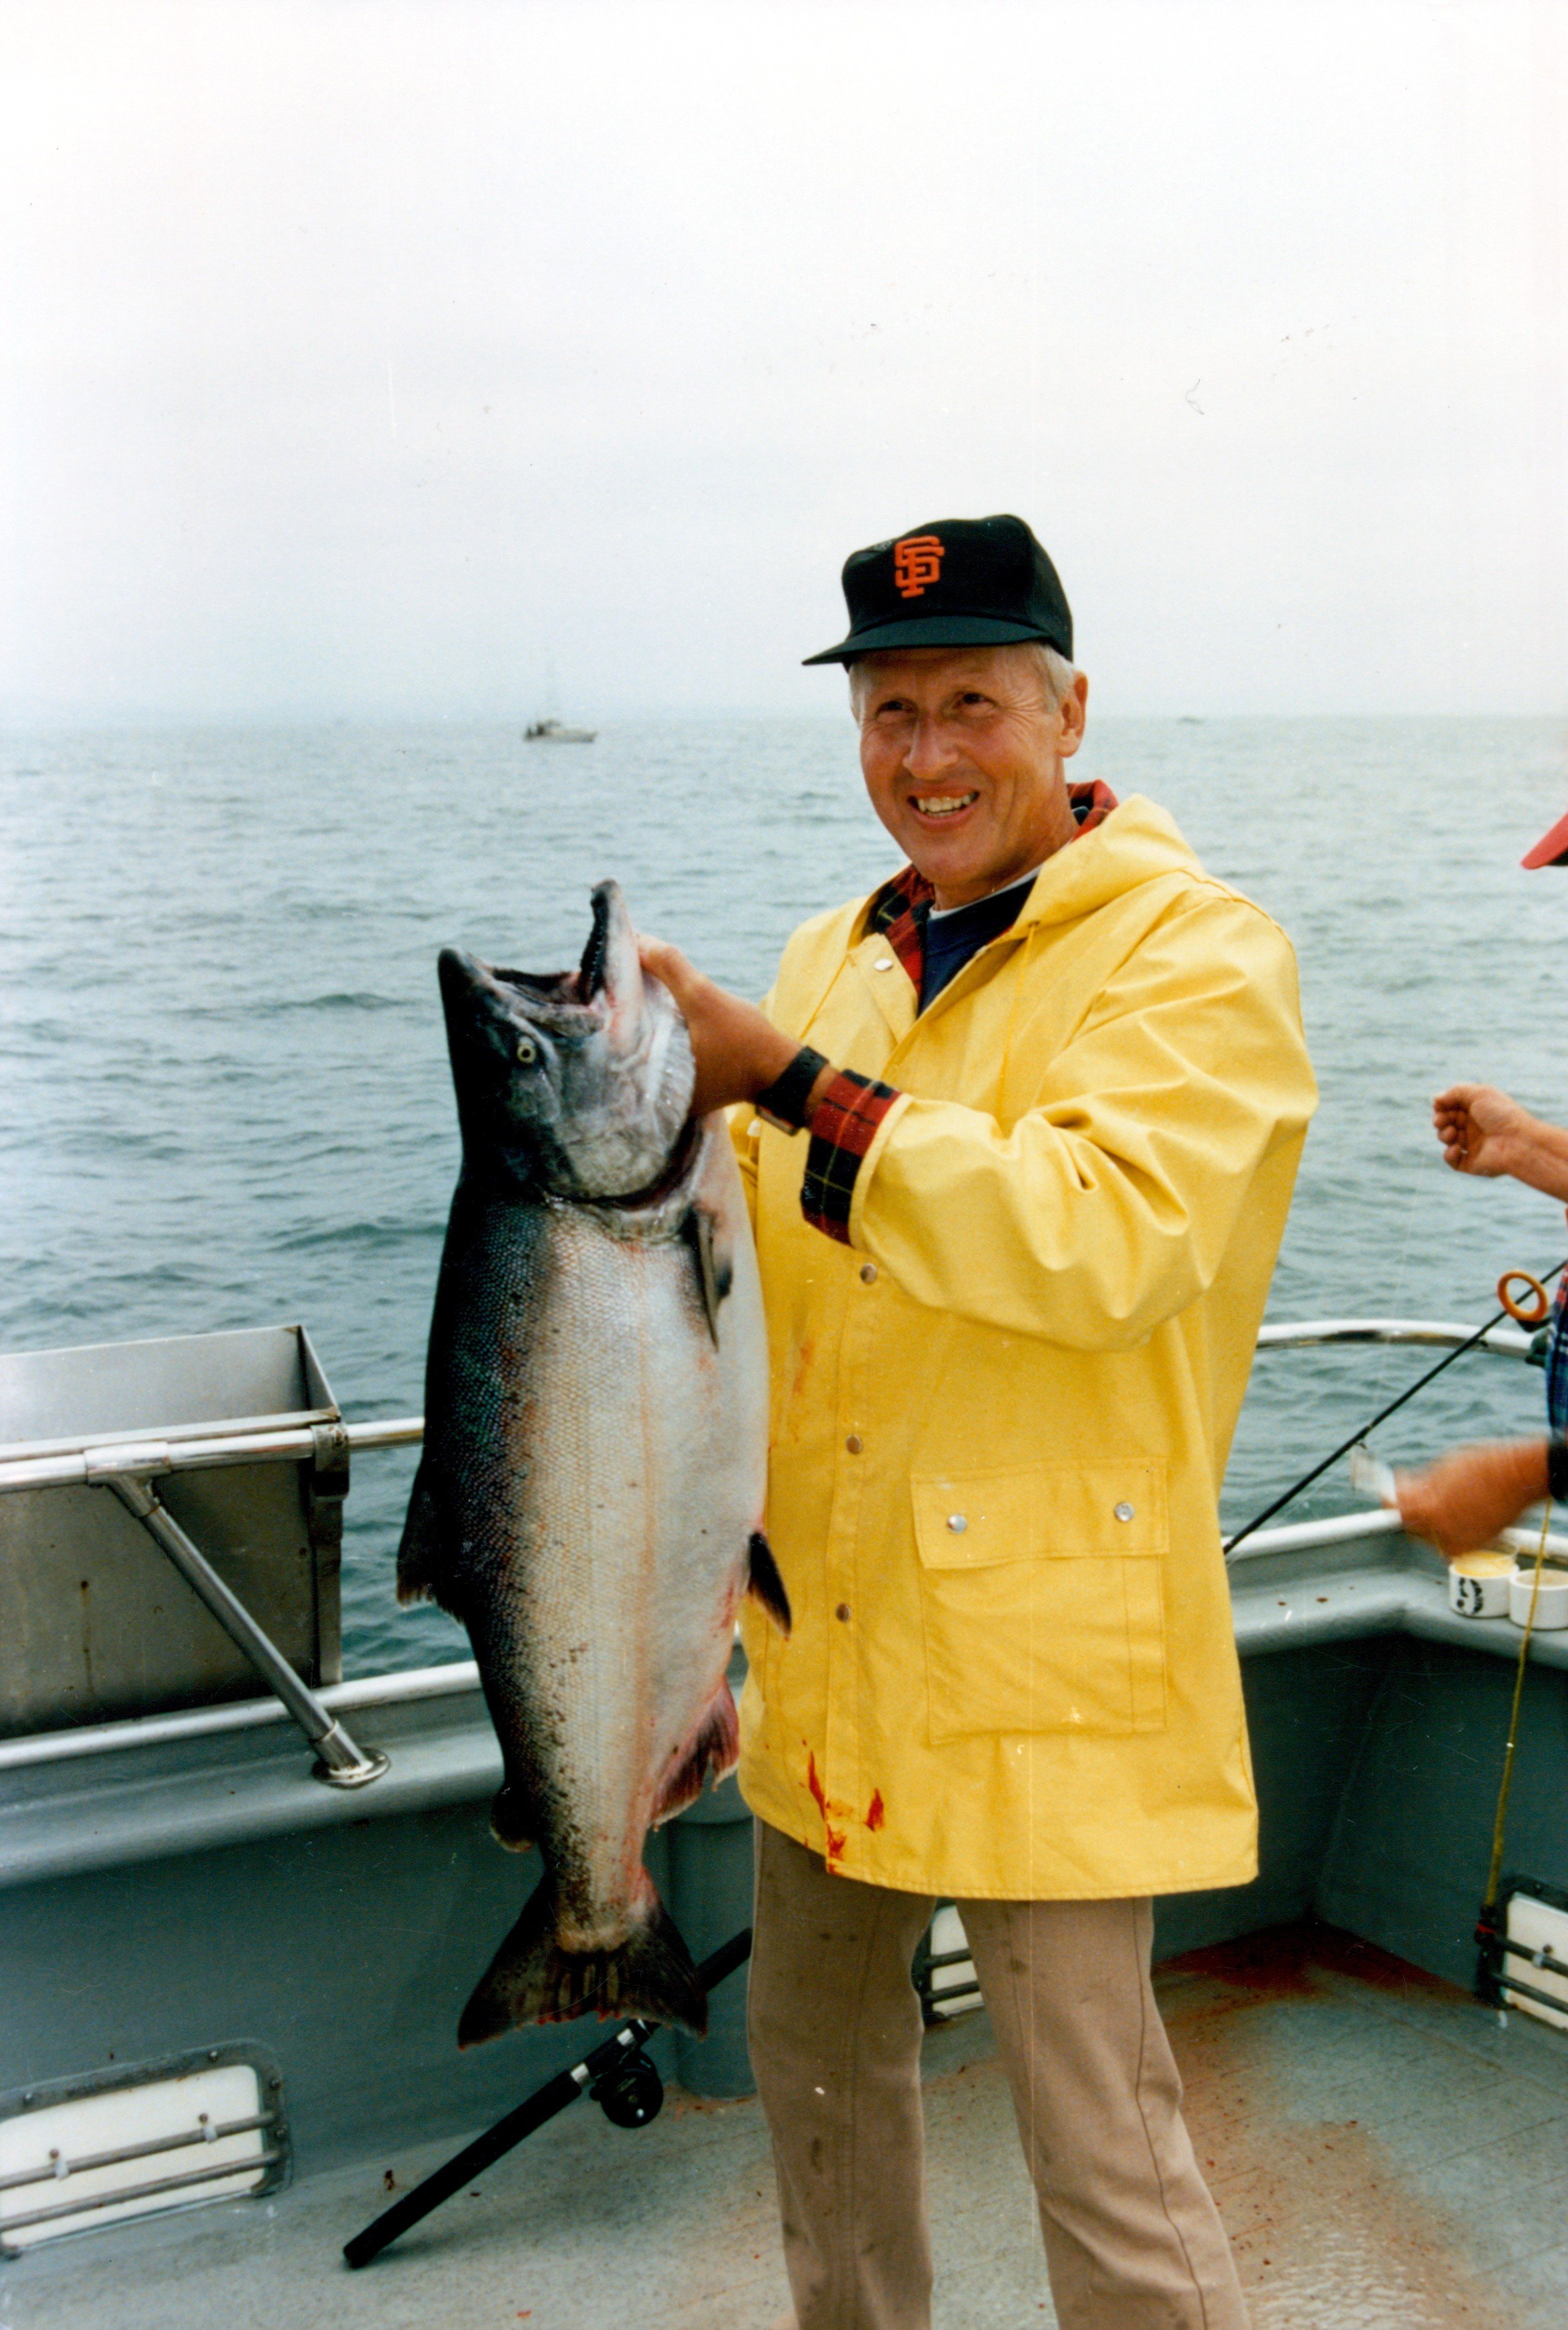
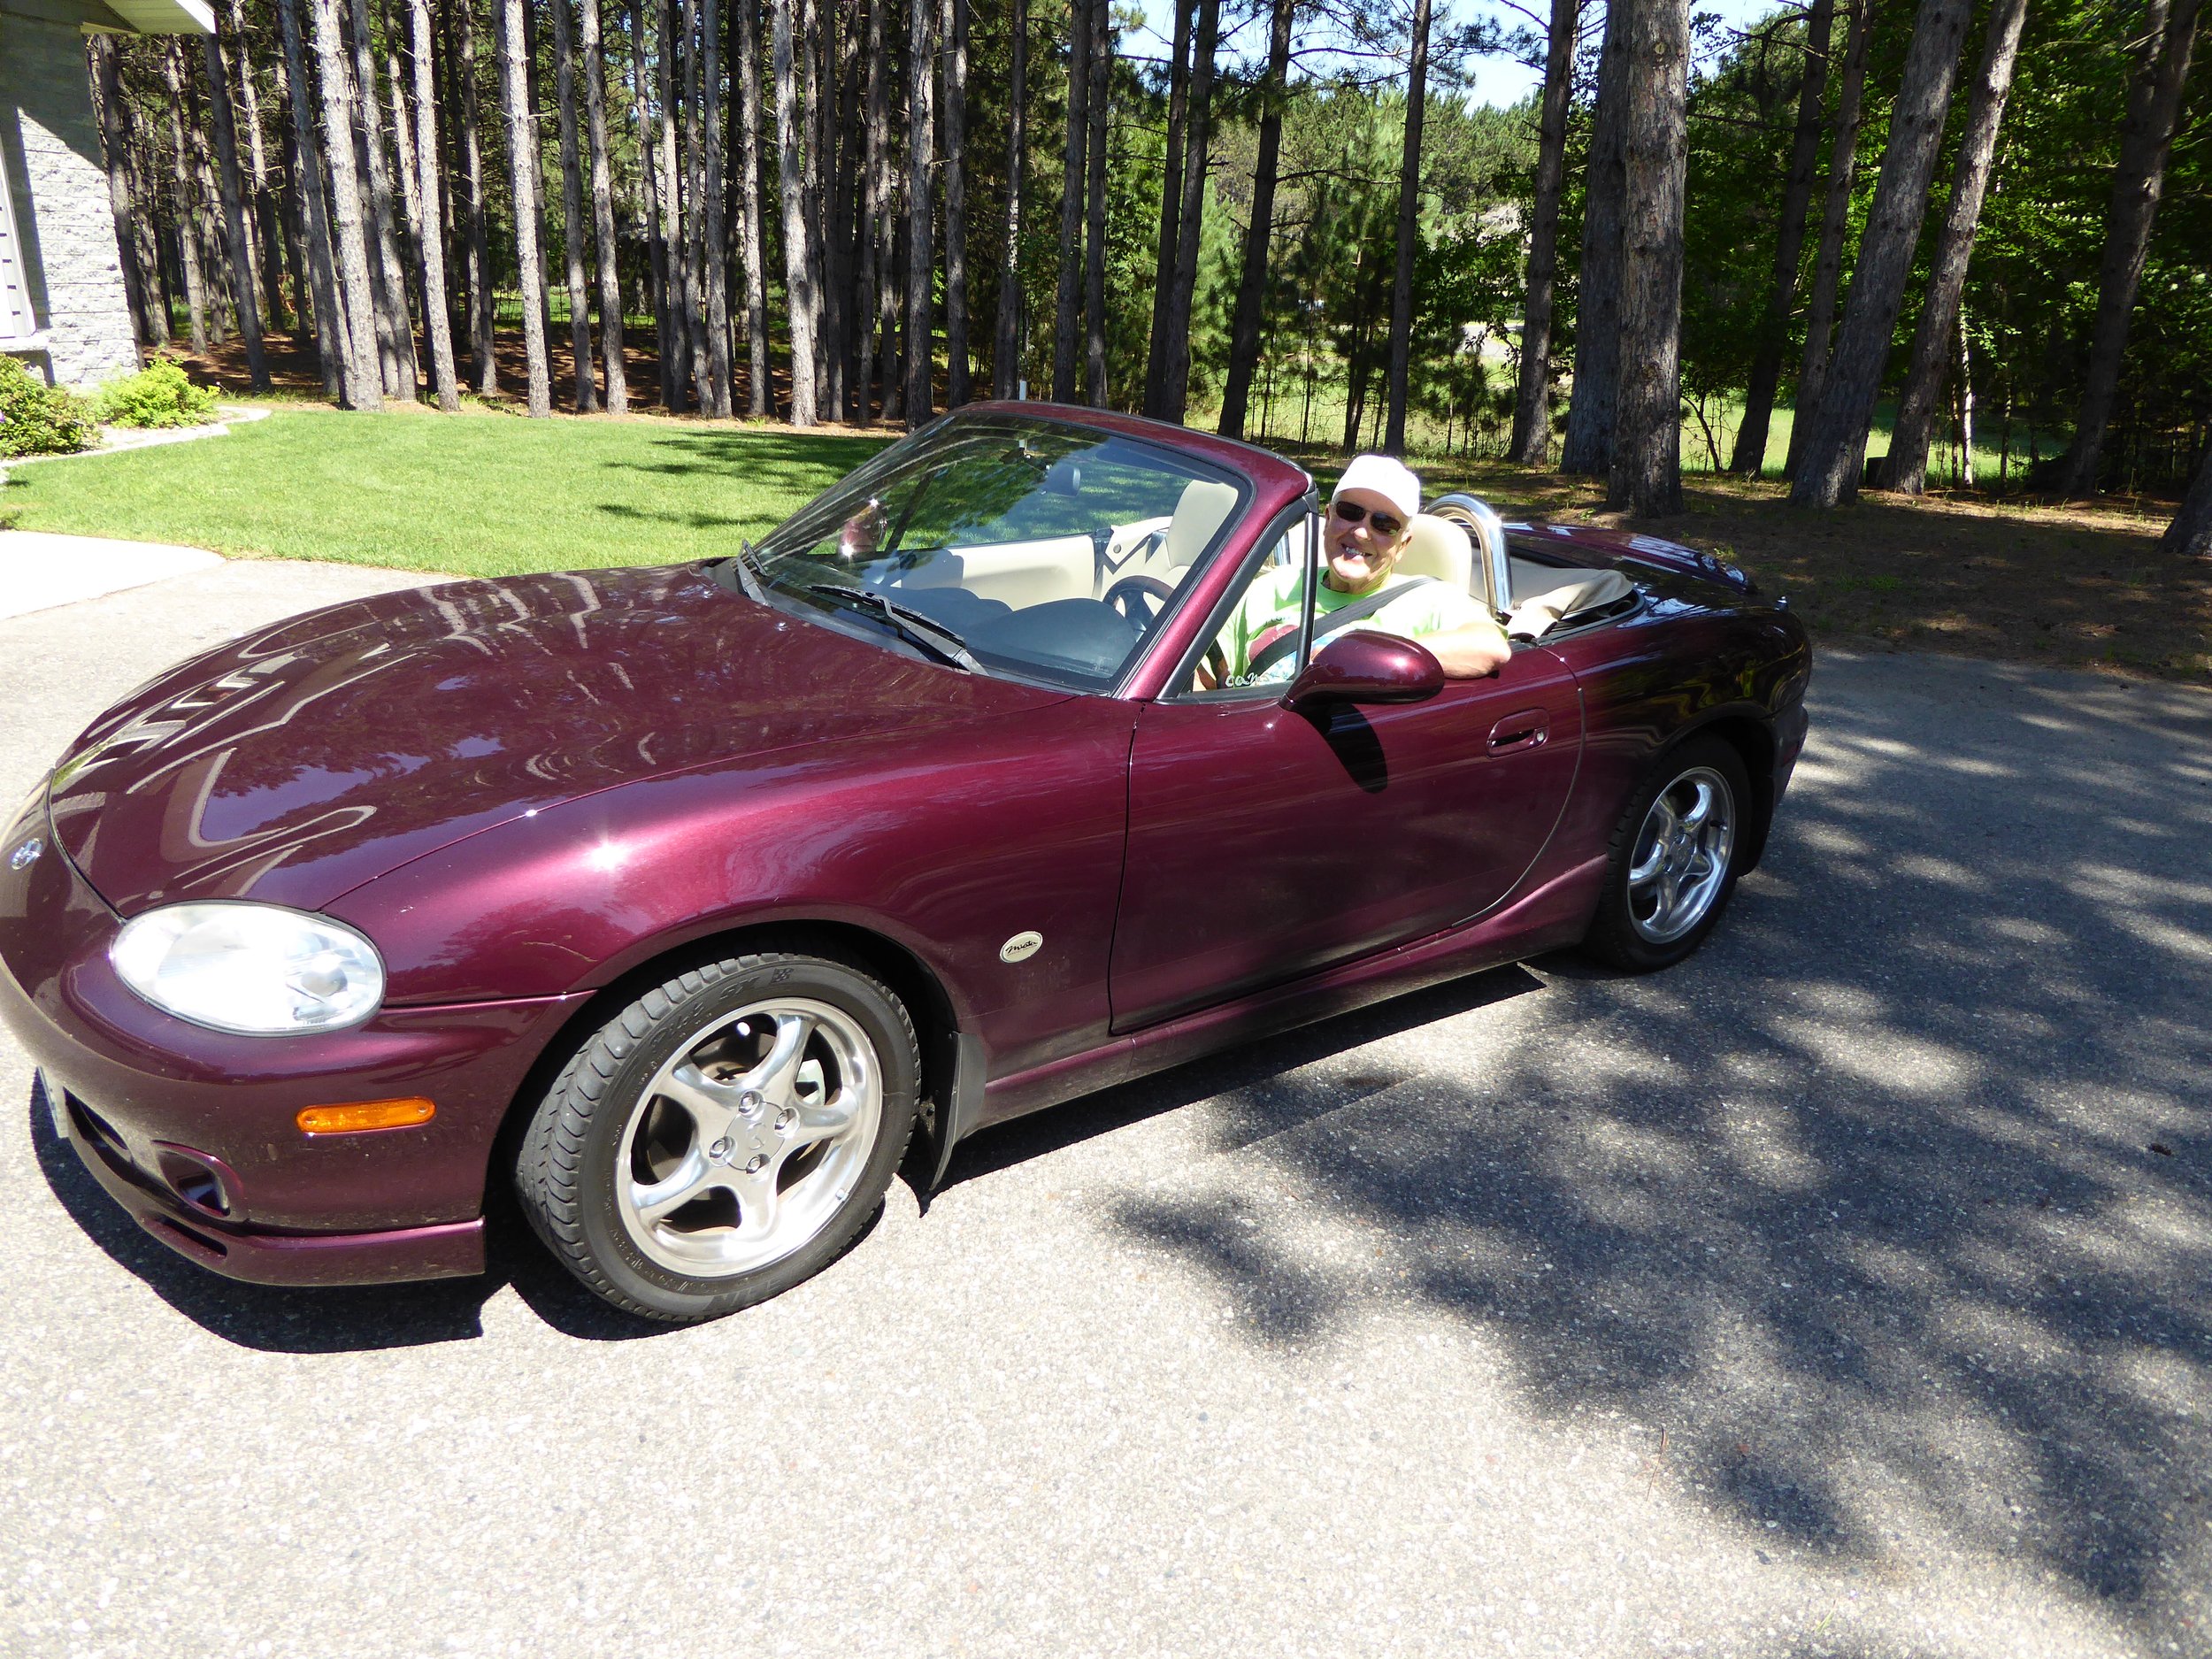
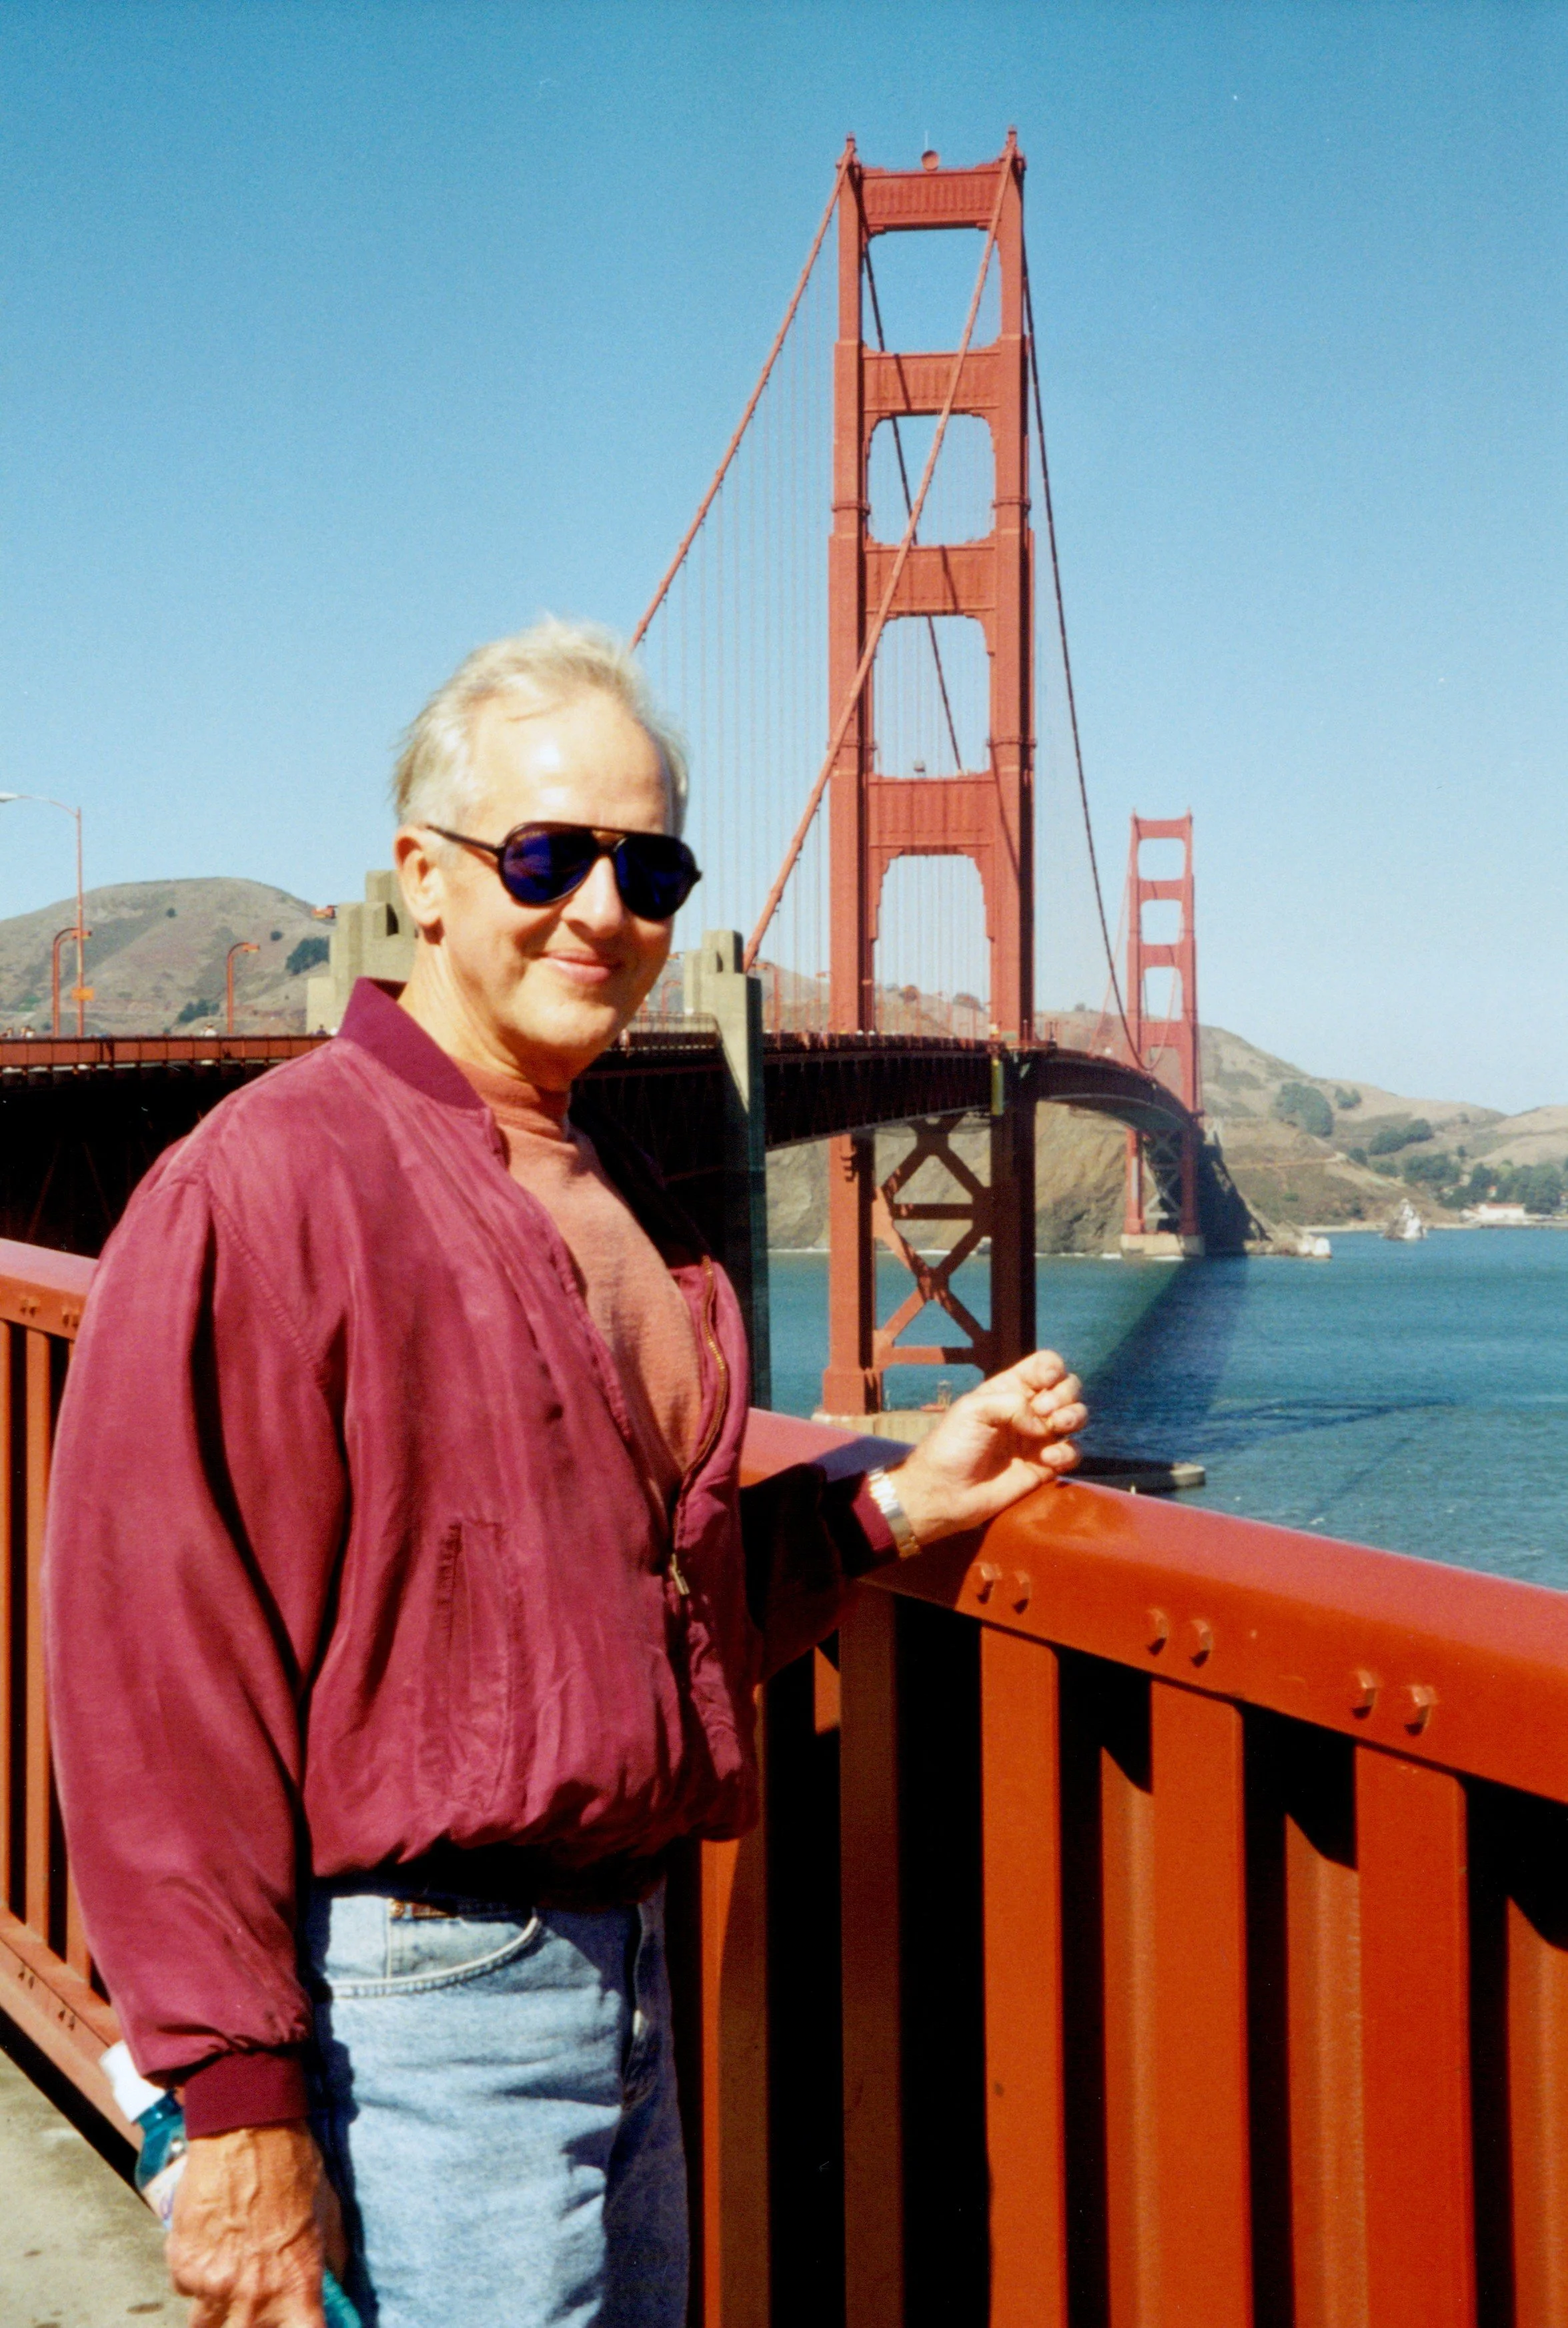
1. Select your favorites…not ALL the photos. Remember that this is not your last opportunity to celebrate your loved one with photos. Once you are feeling less pressure, you can do more. Pick your favorites, but don’t worry if you can’t find that ONE photo of Grandpa and the big fish. Photos at a funeral are meant to provide a snapshot of a live well lived, not every photo that was ever taken of your loved one.
During this selection process, you may need to scan some photos. If you can, scan the photos at a resolution of 600 dpi. This will give you the best result if you decide to print some of the photos. If you don’t have scanning equipment, there are people and places that can do this for you. One source is The Photo Managers where you can search for someone in your local area (https://thephotomanagers.com/).
2. Organize photo boards by meaningful themes. Using themes in your photo boards helps tell your loved one’s story in a meaningful way to the people attending the service. Here are some themes I’ve used in the past:
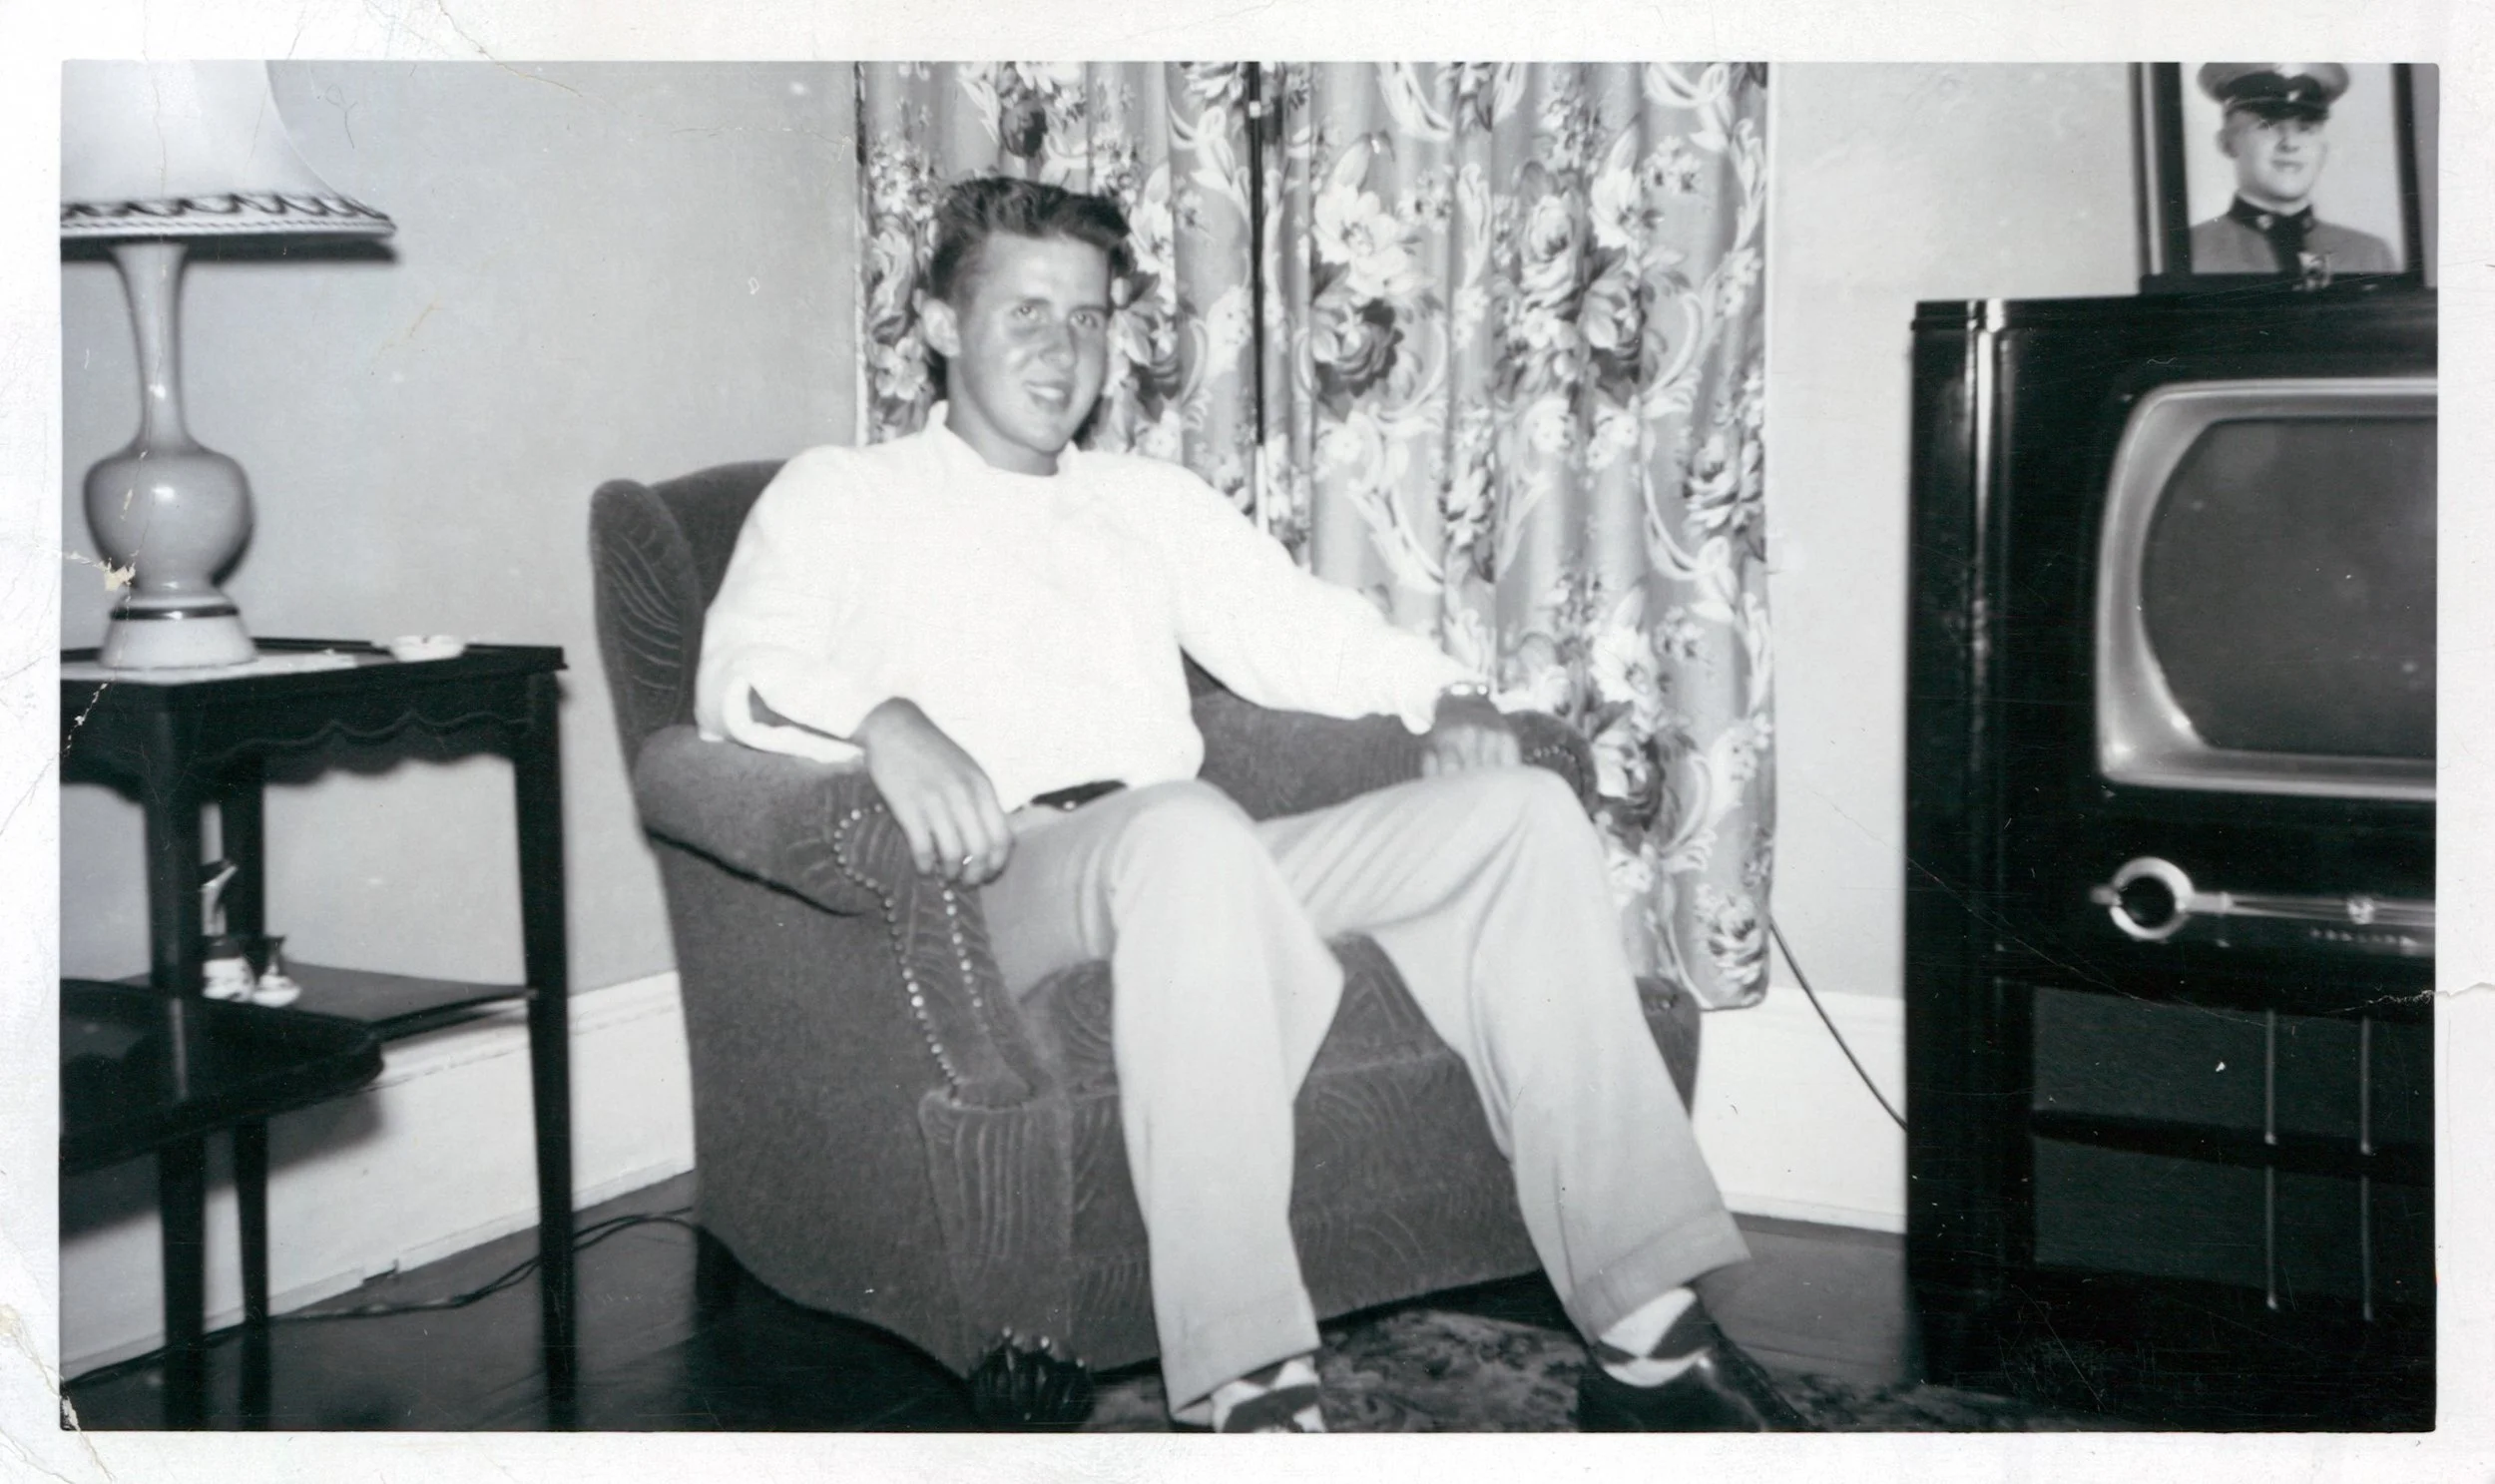
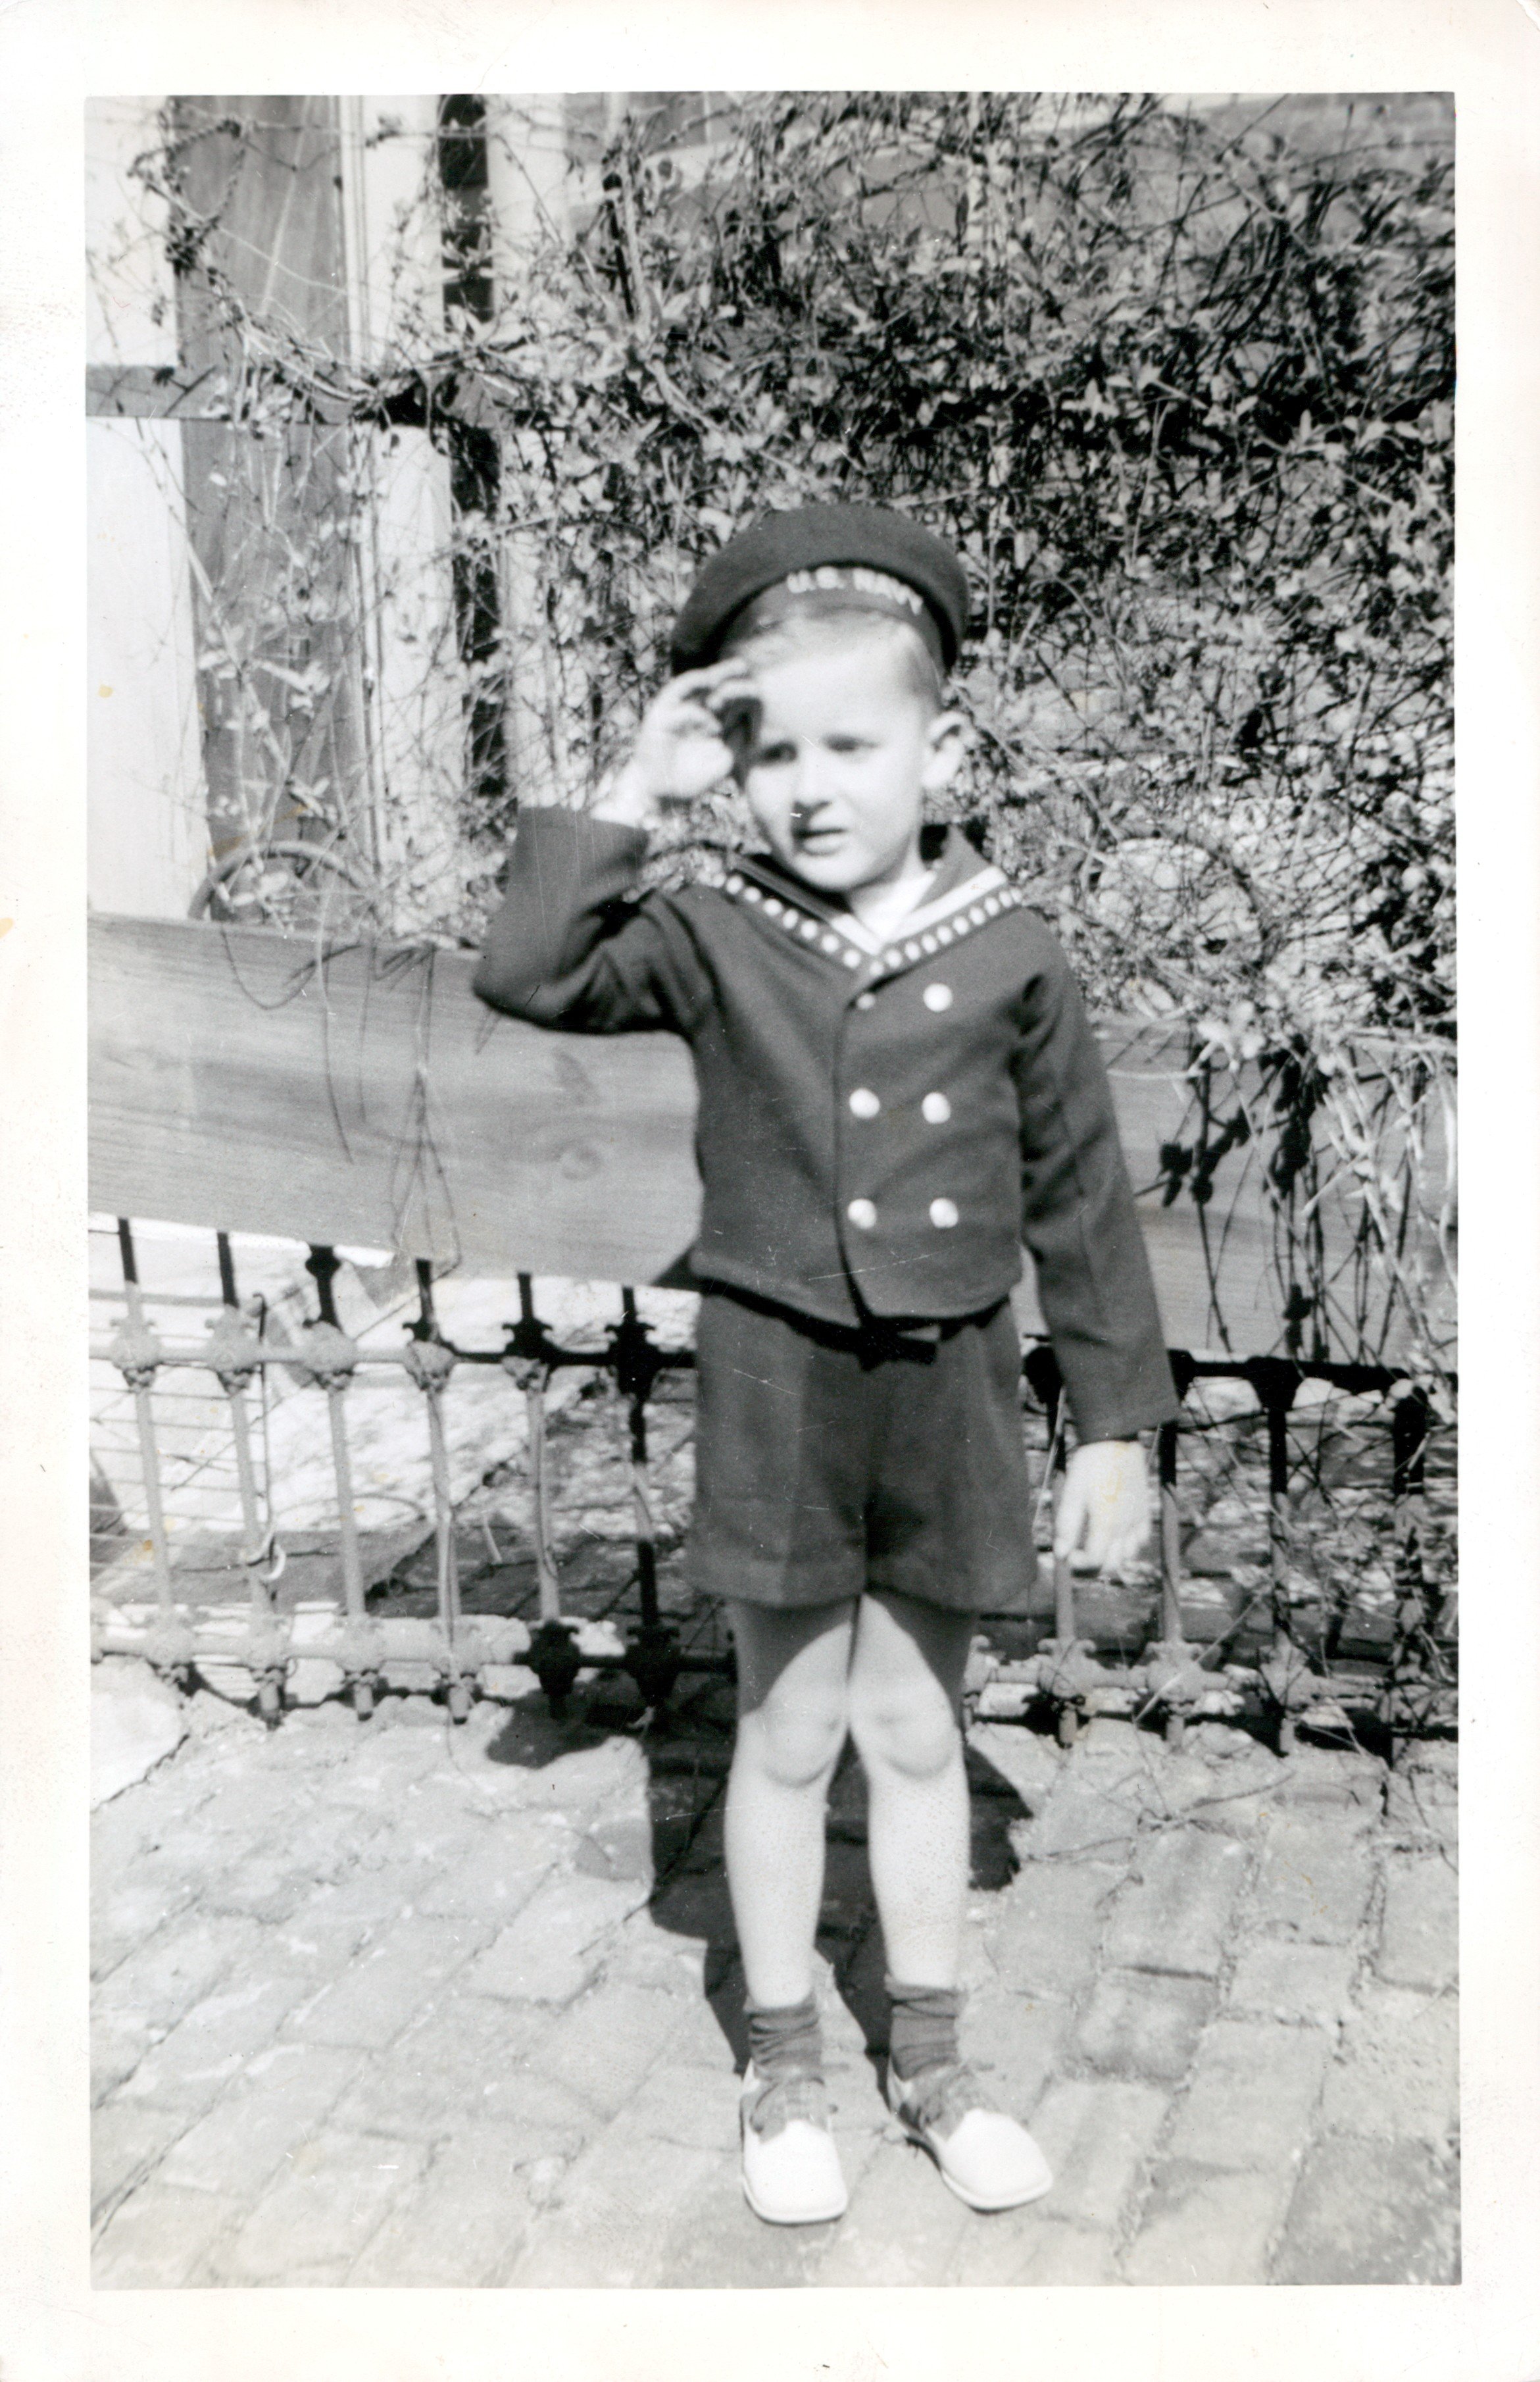
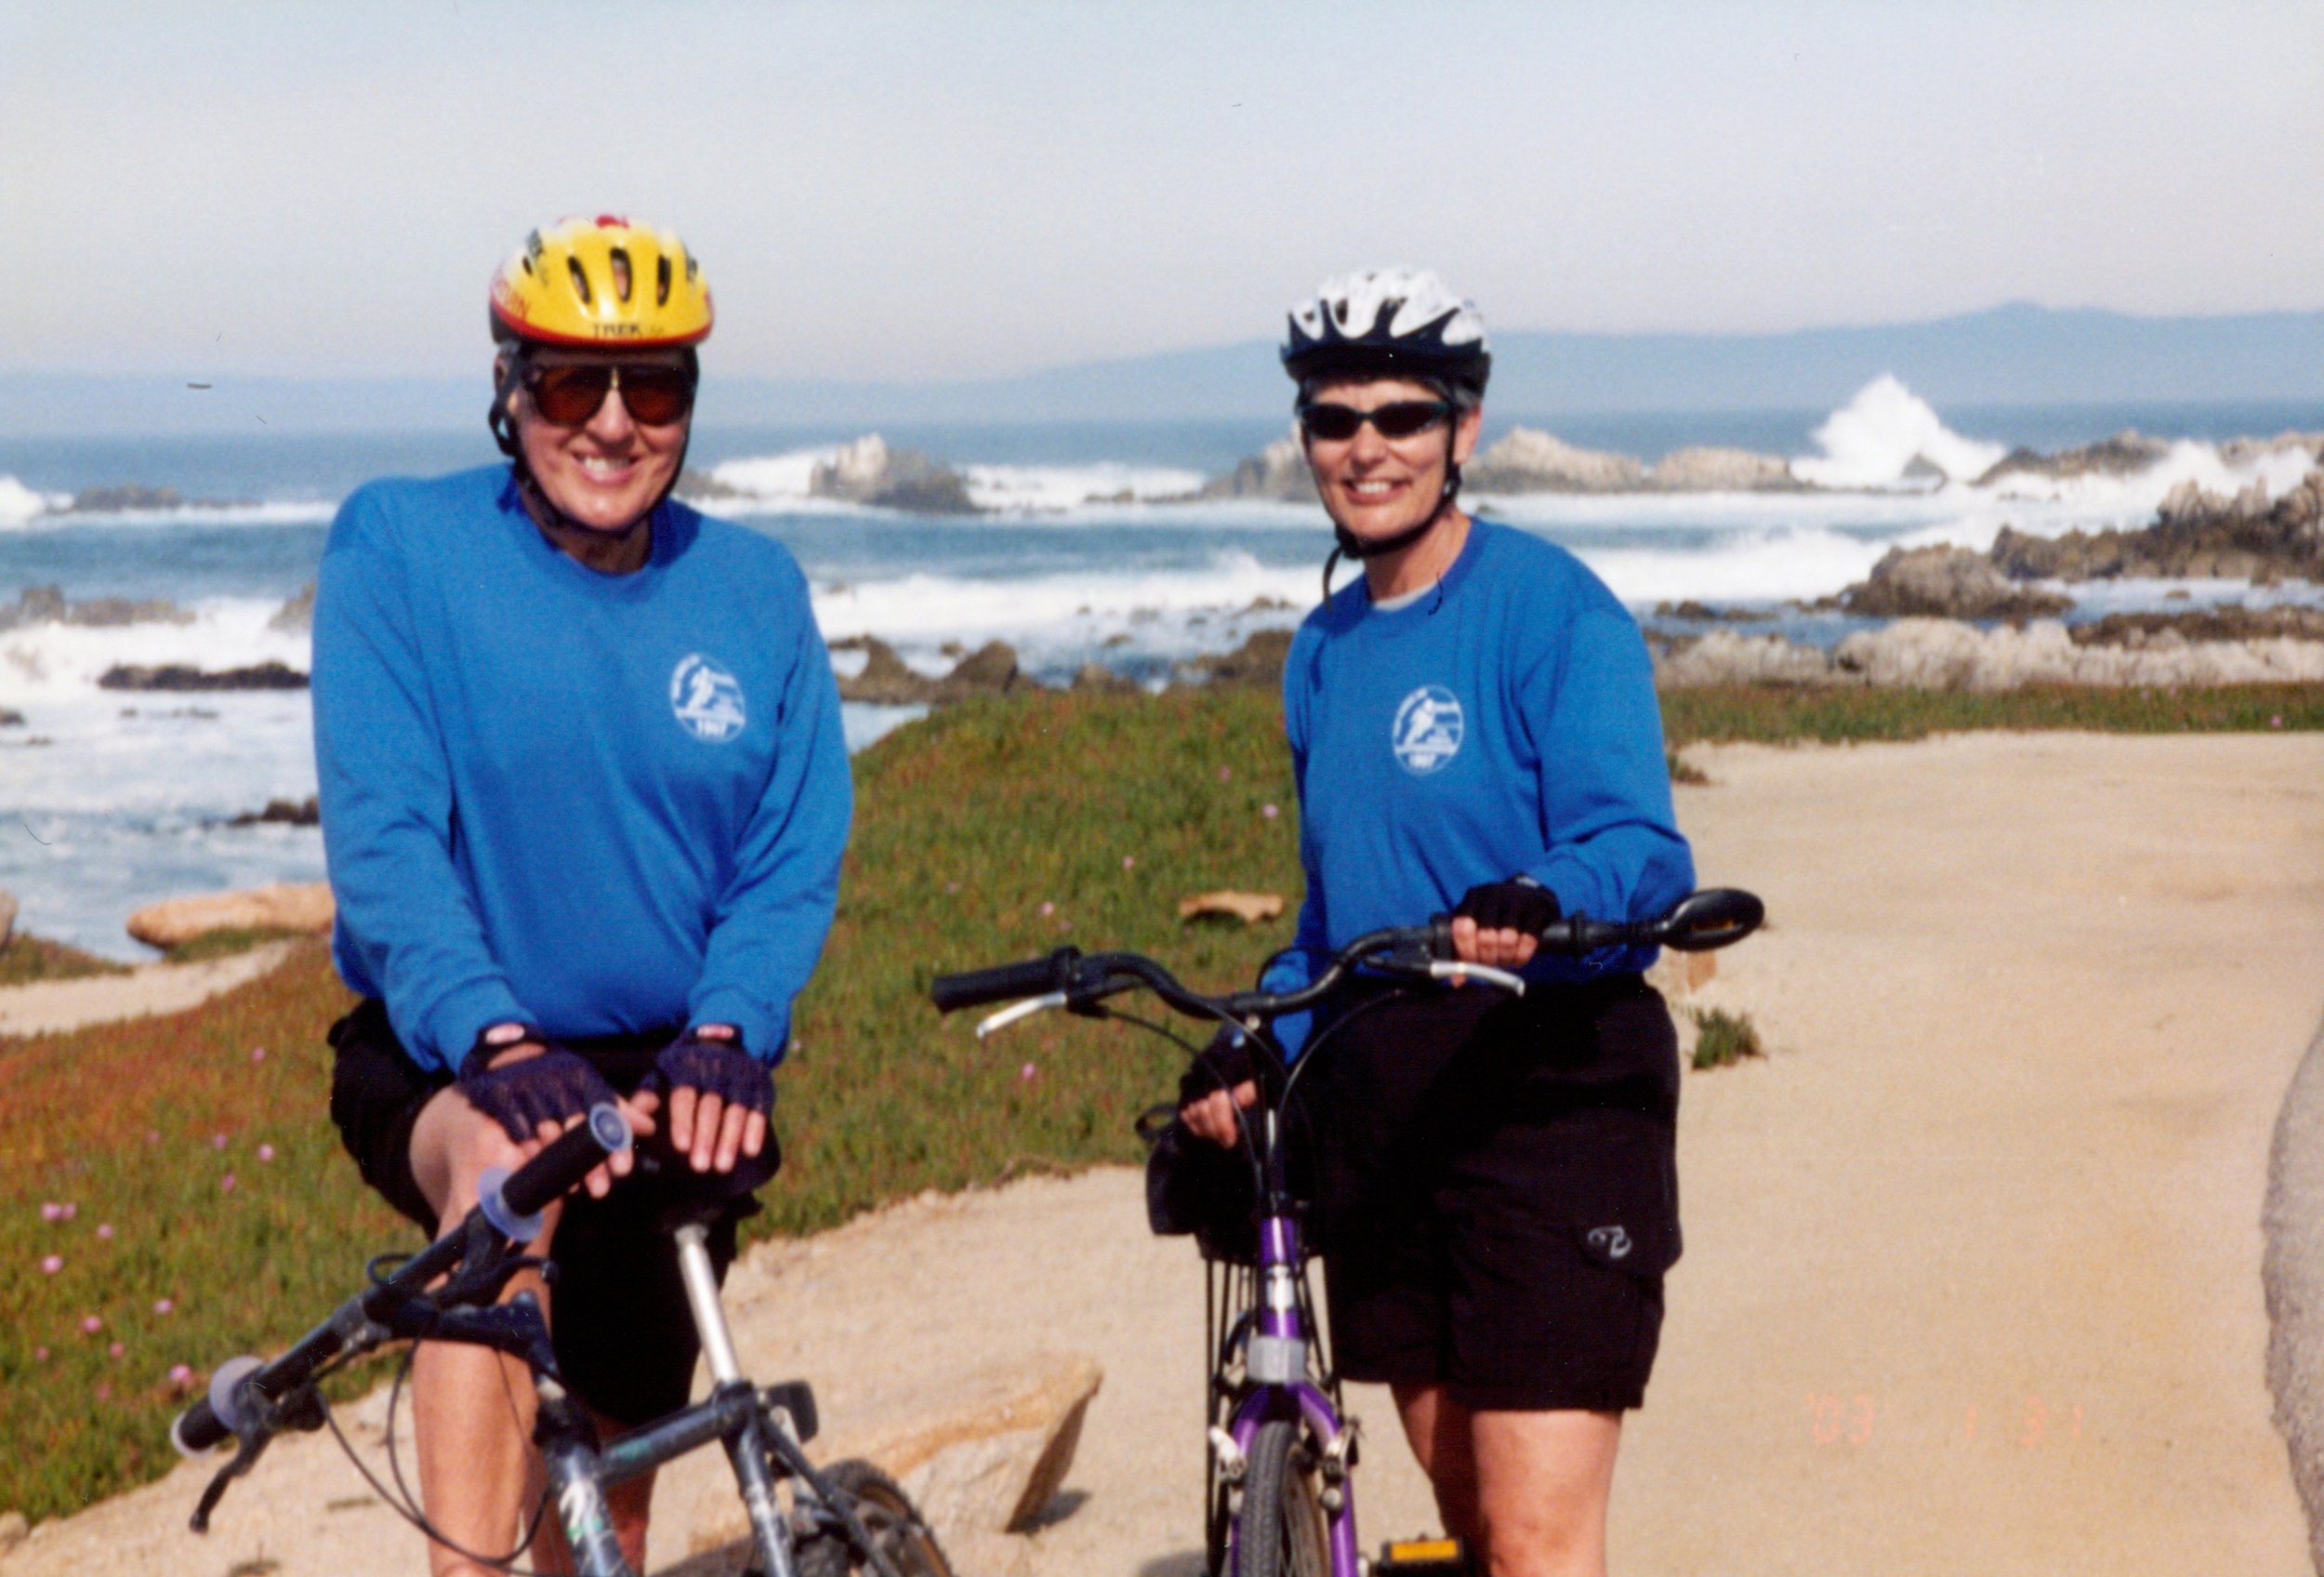
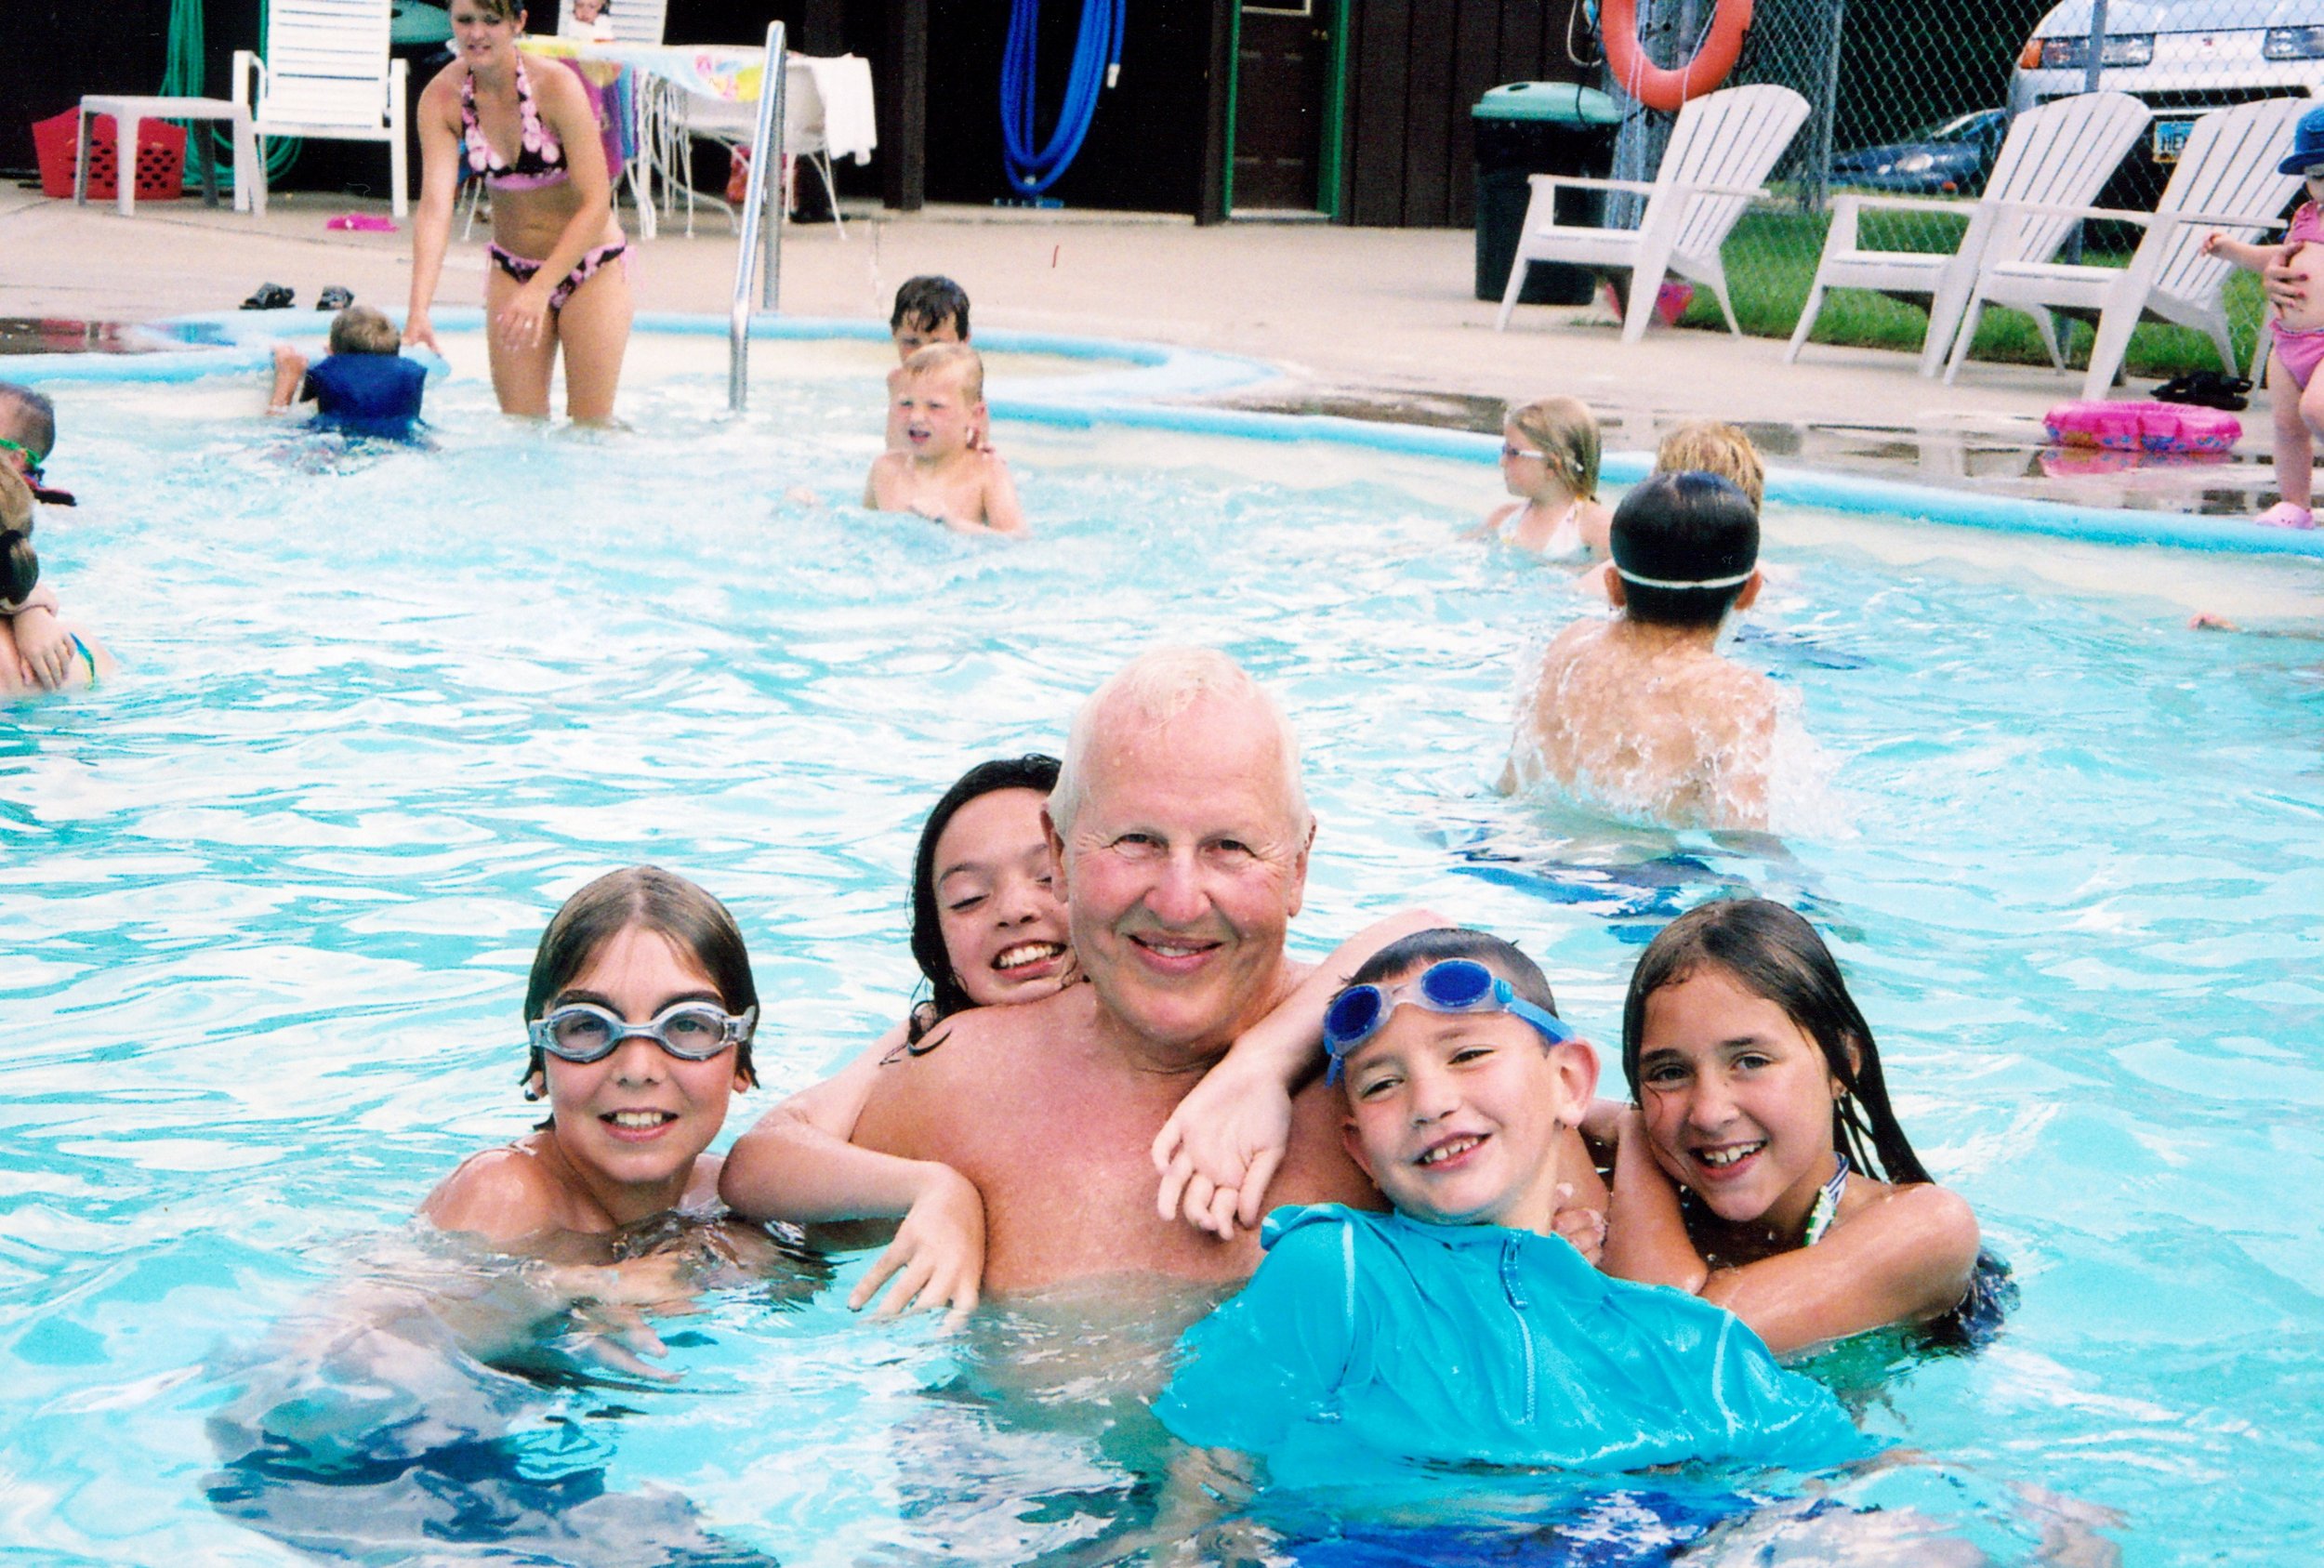
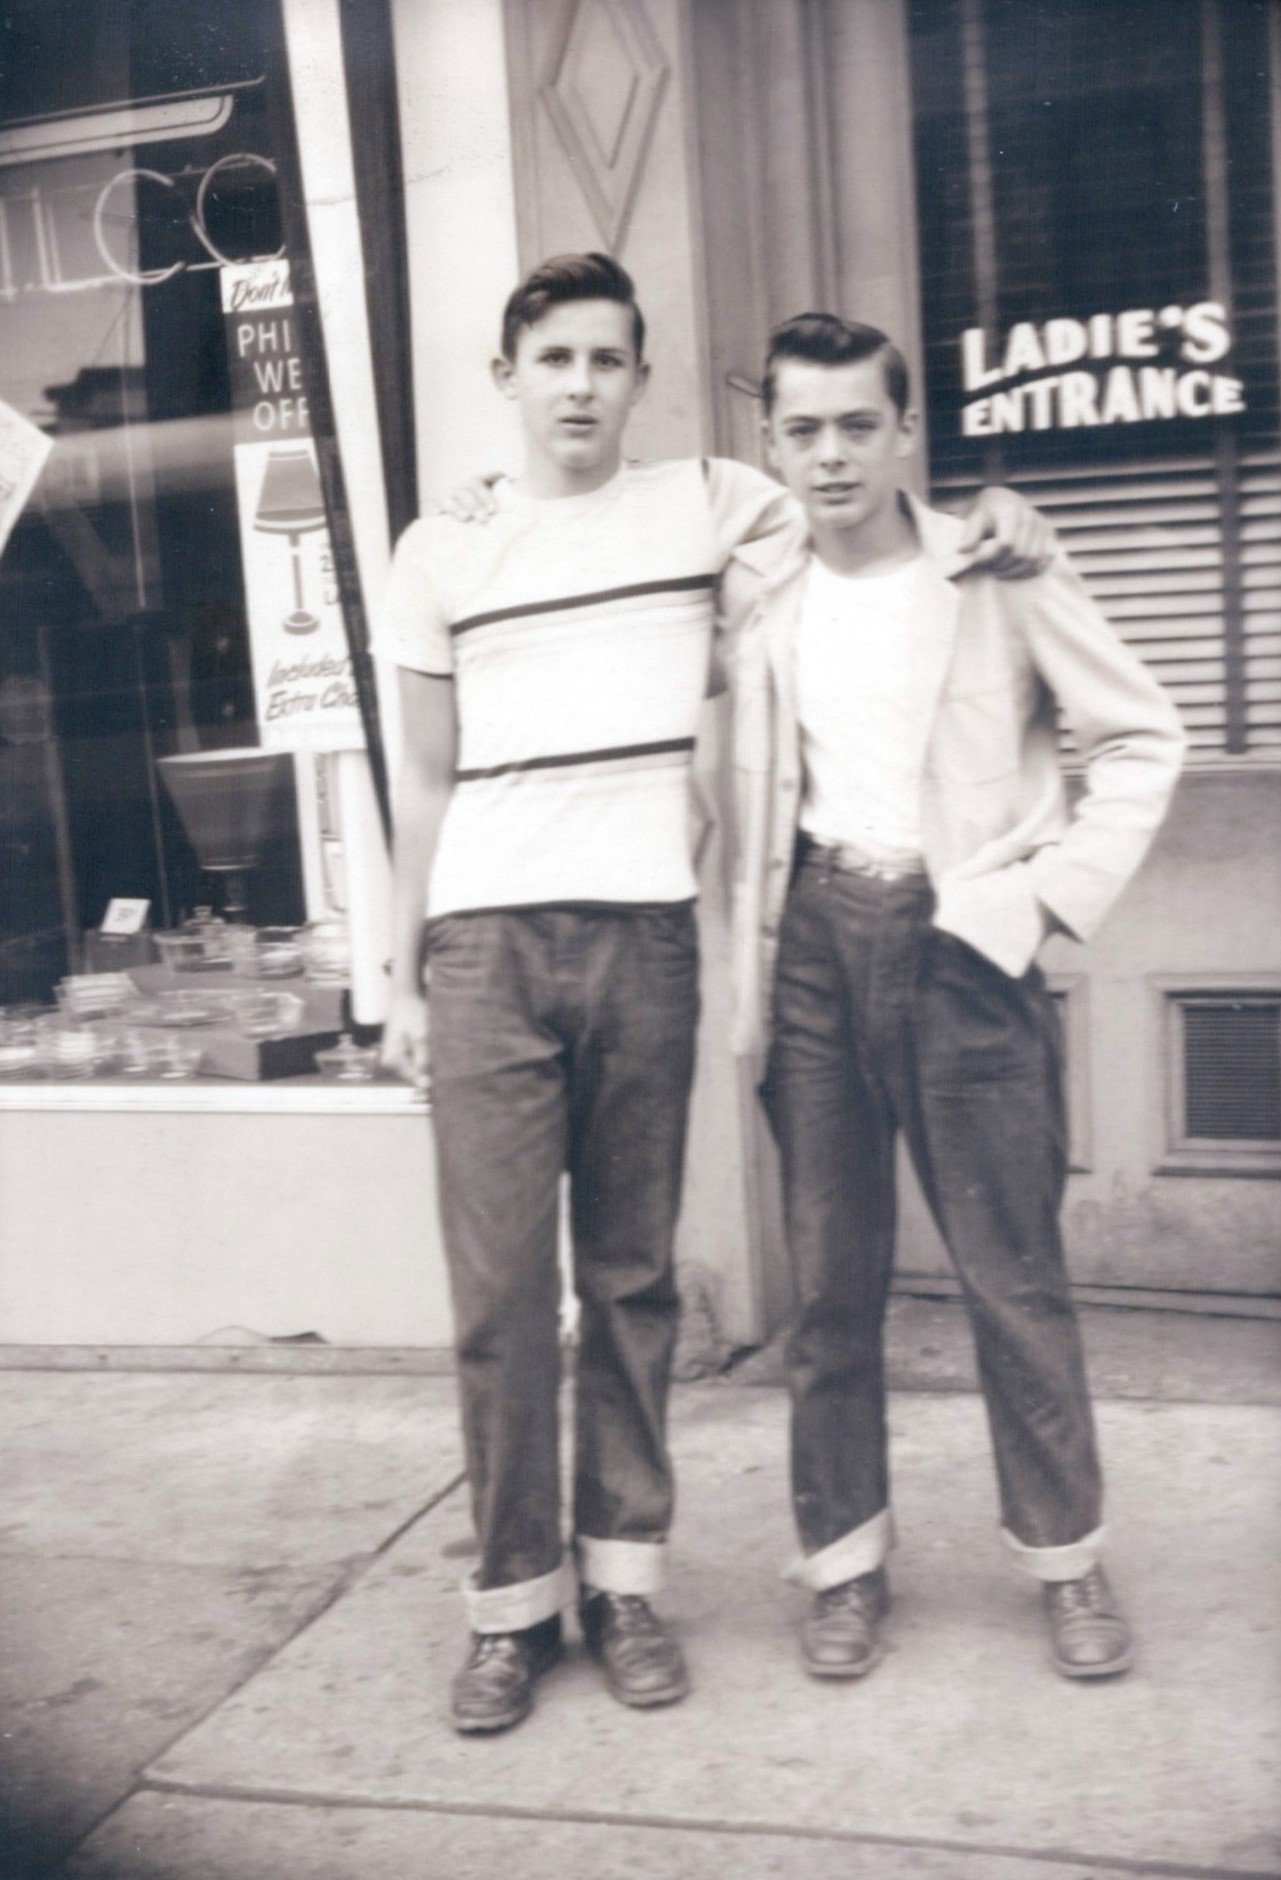
A board dedicated to pictures of just your loved one. This can include pictures of him/her through the years (baby to adulthood), as well as pictures from school, work, travels, participating in activities, hobbies, etc.
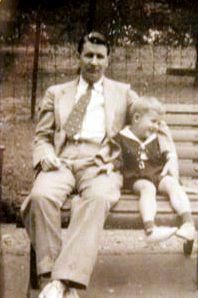
Mom/Dad – pictures with his/her children at all ages
Grandma/Grandpa – pictures with grandchildren
Spouse – pictures with his/her spouse
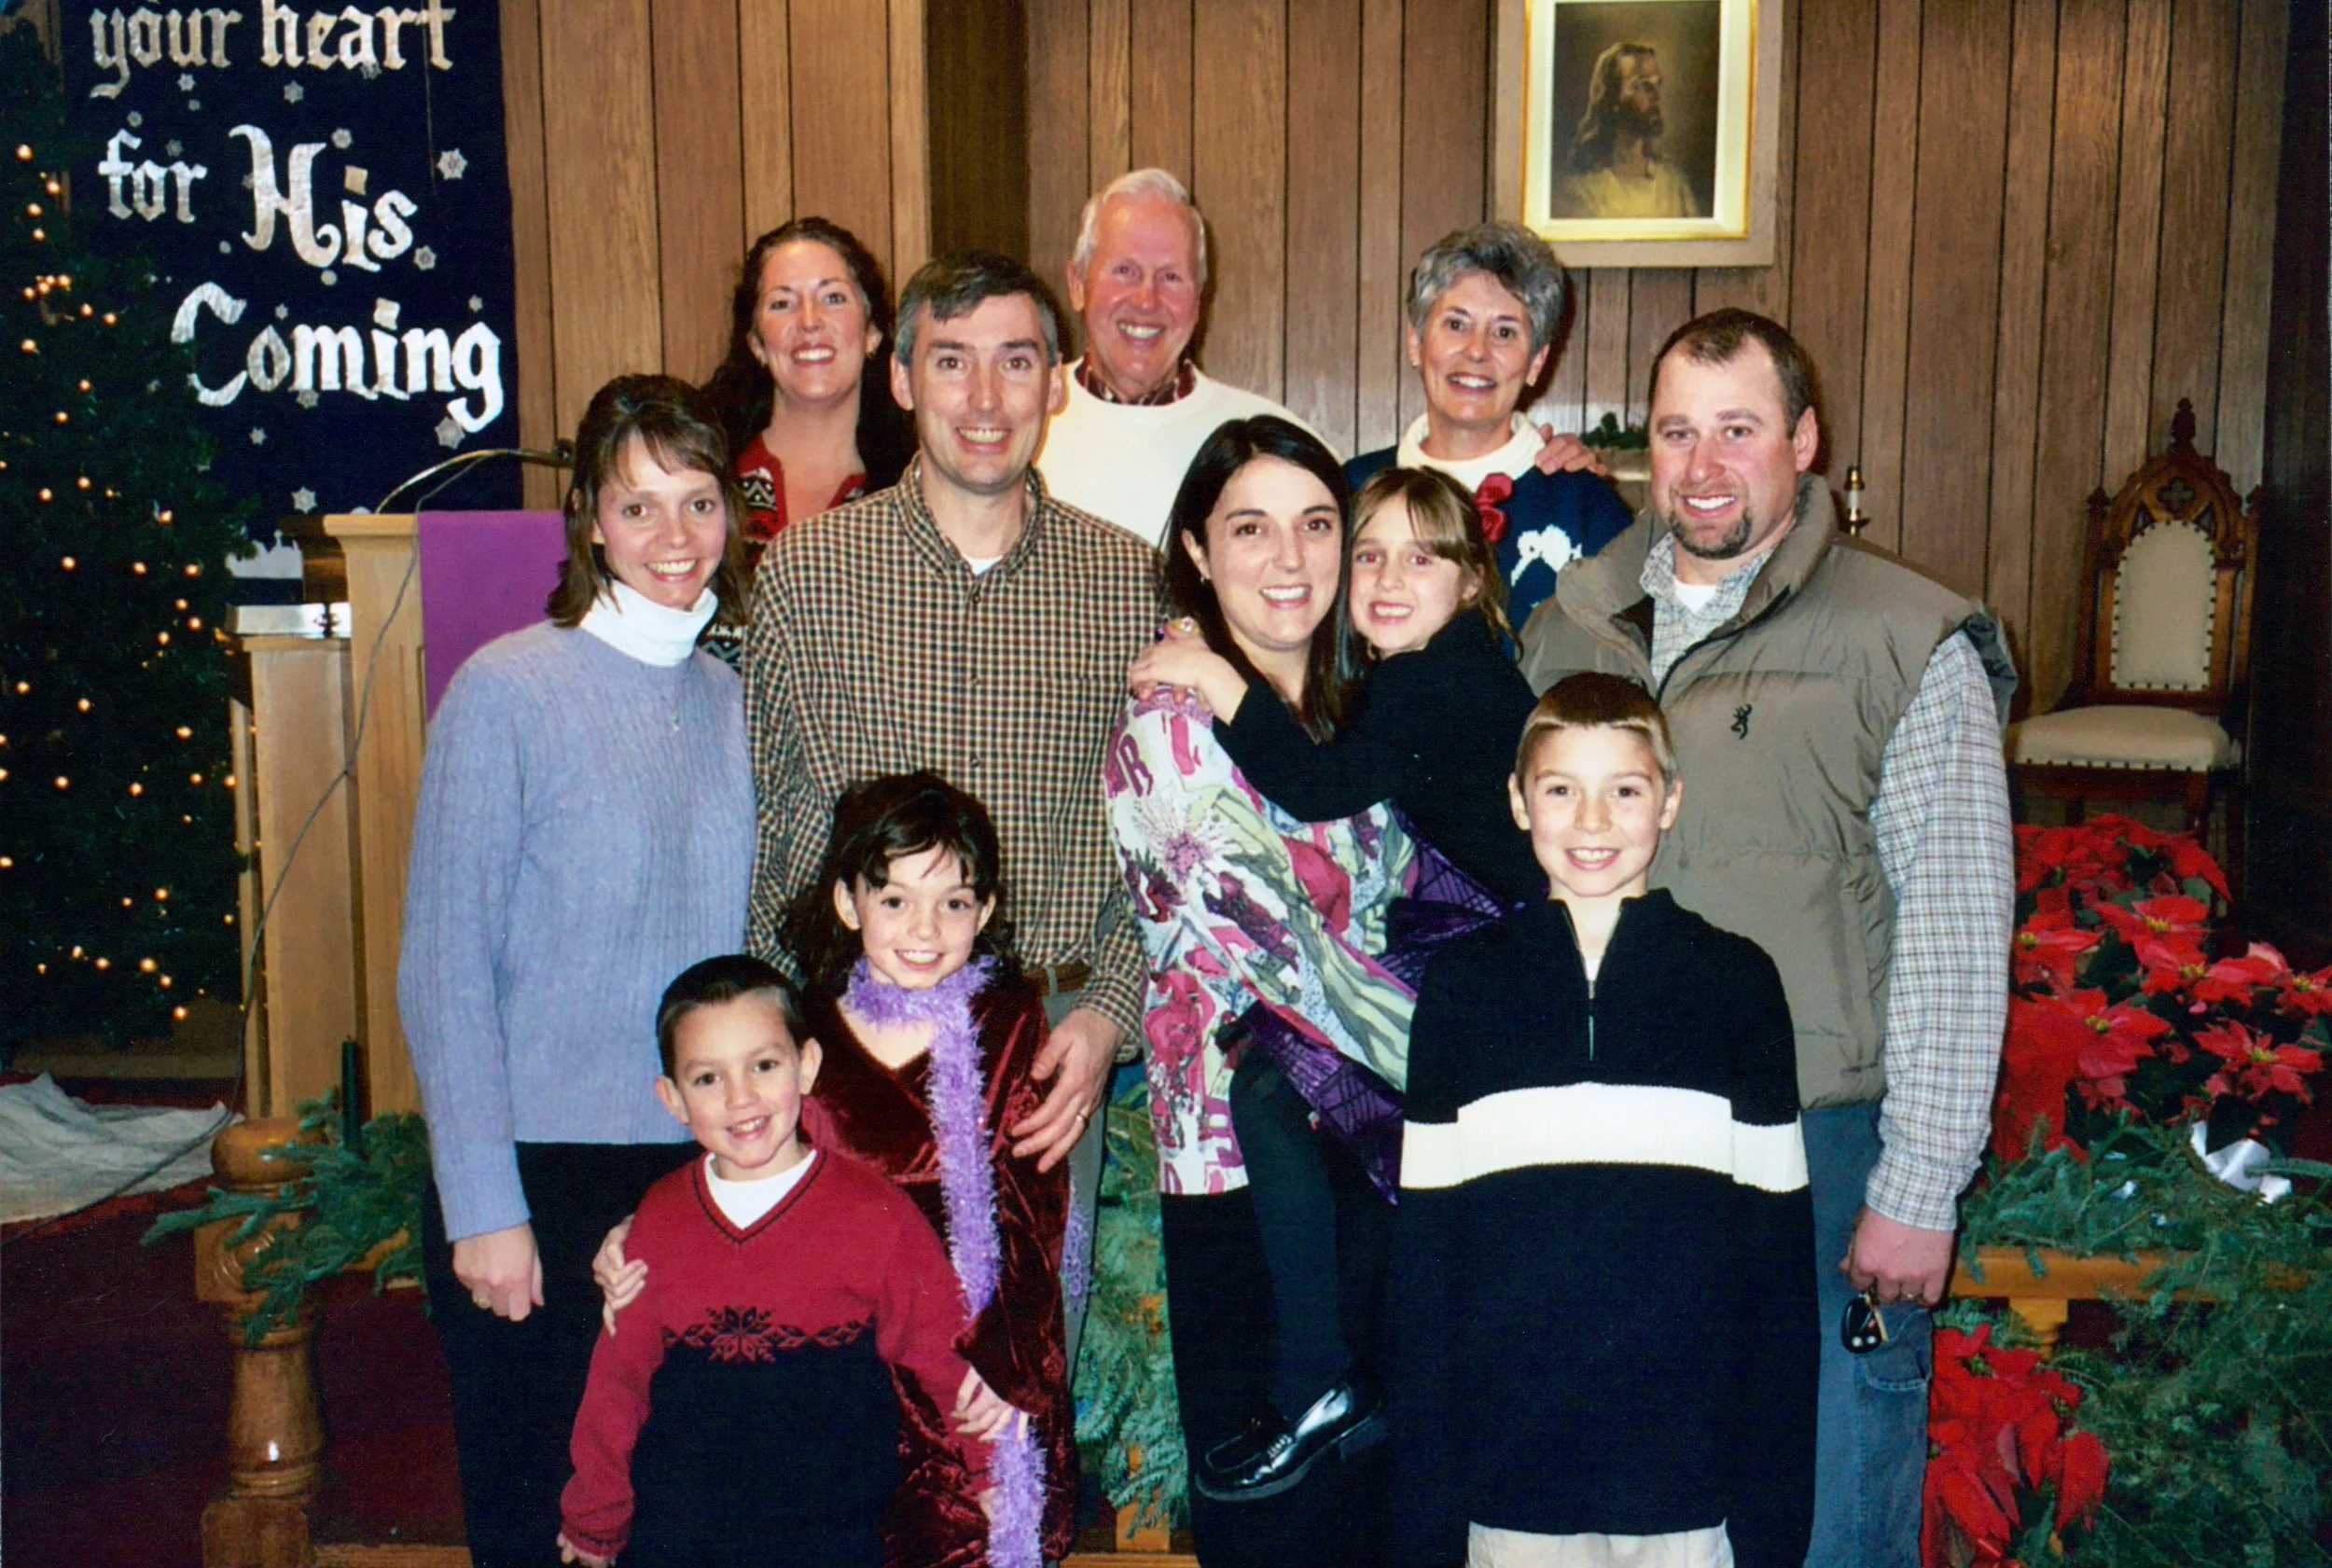
Extended family – pictures with sisters, brothers, aunts, uncles, cousins
Friends
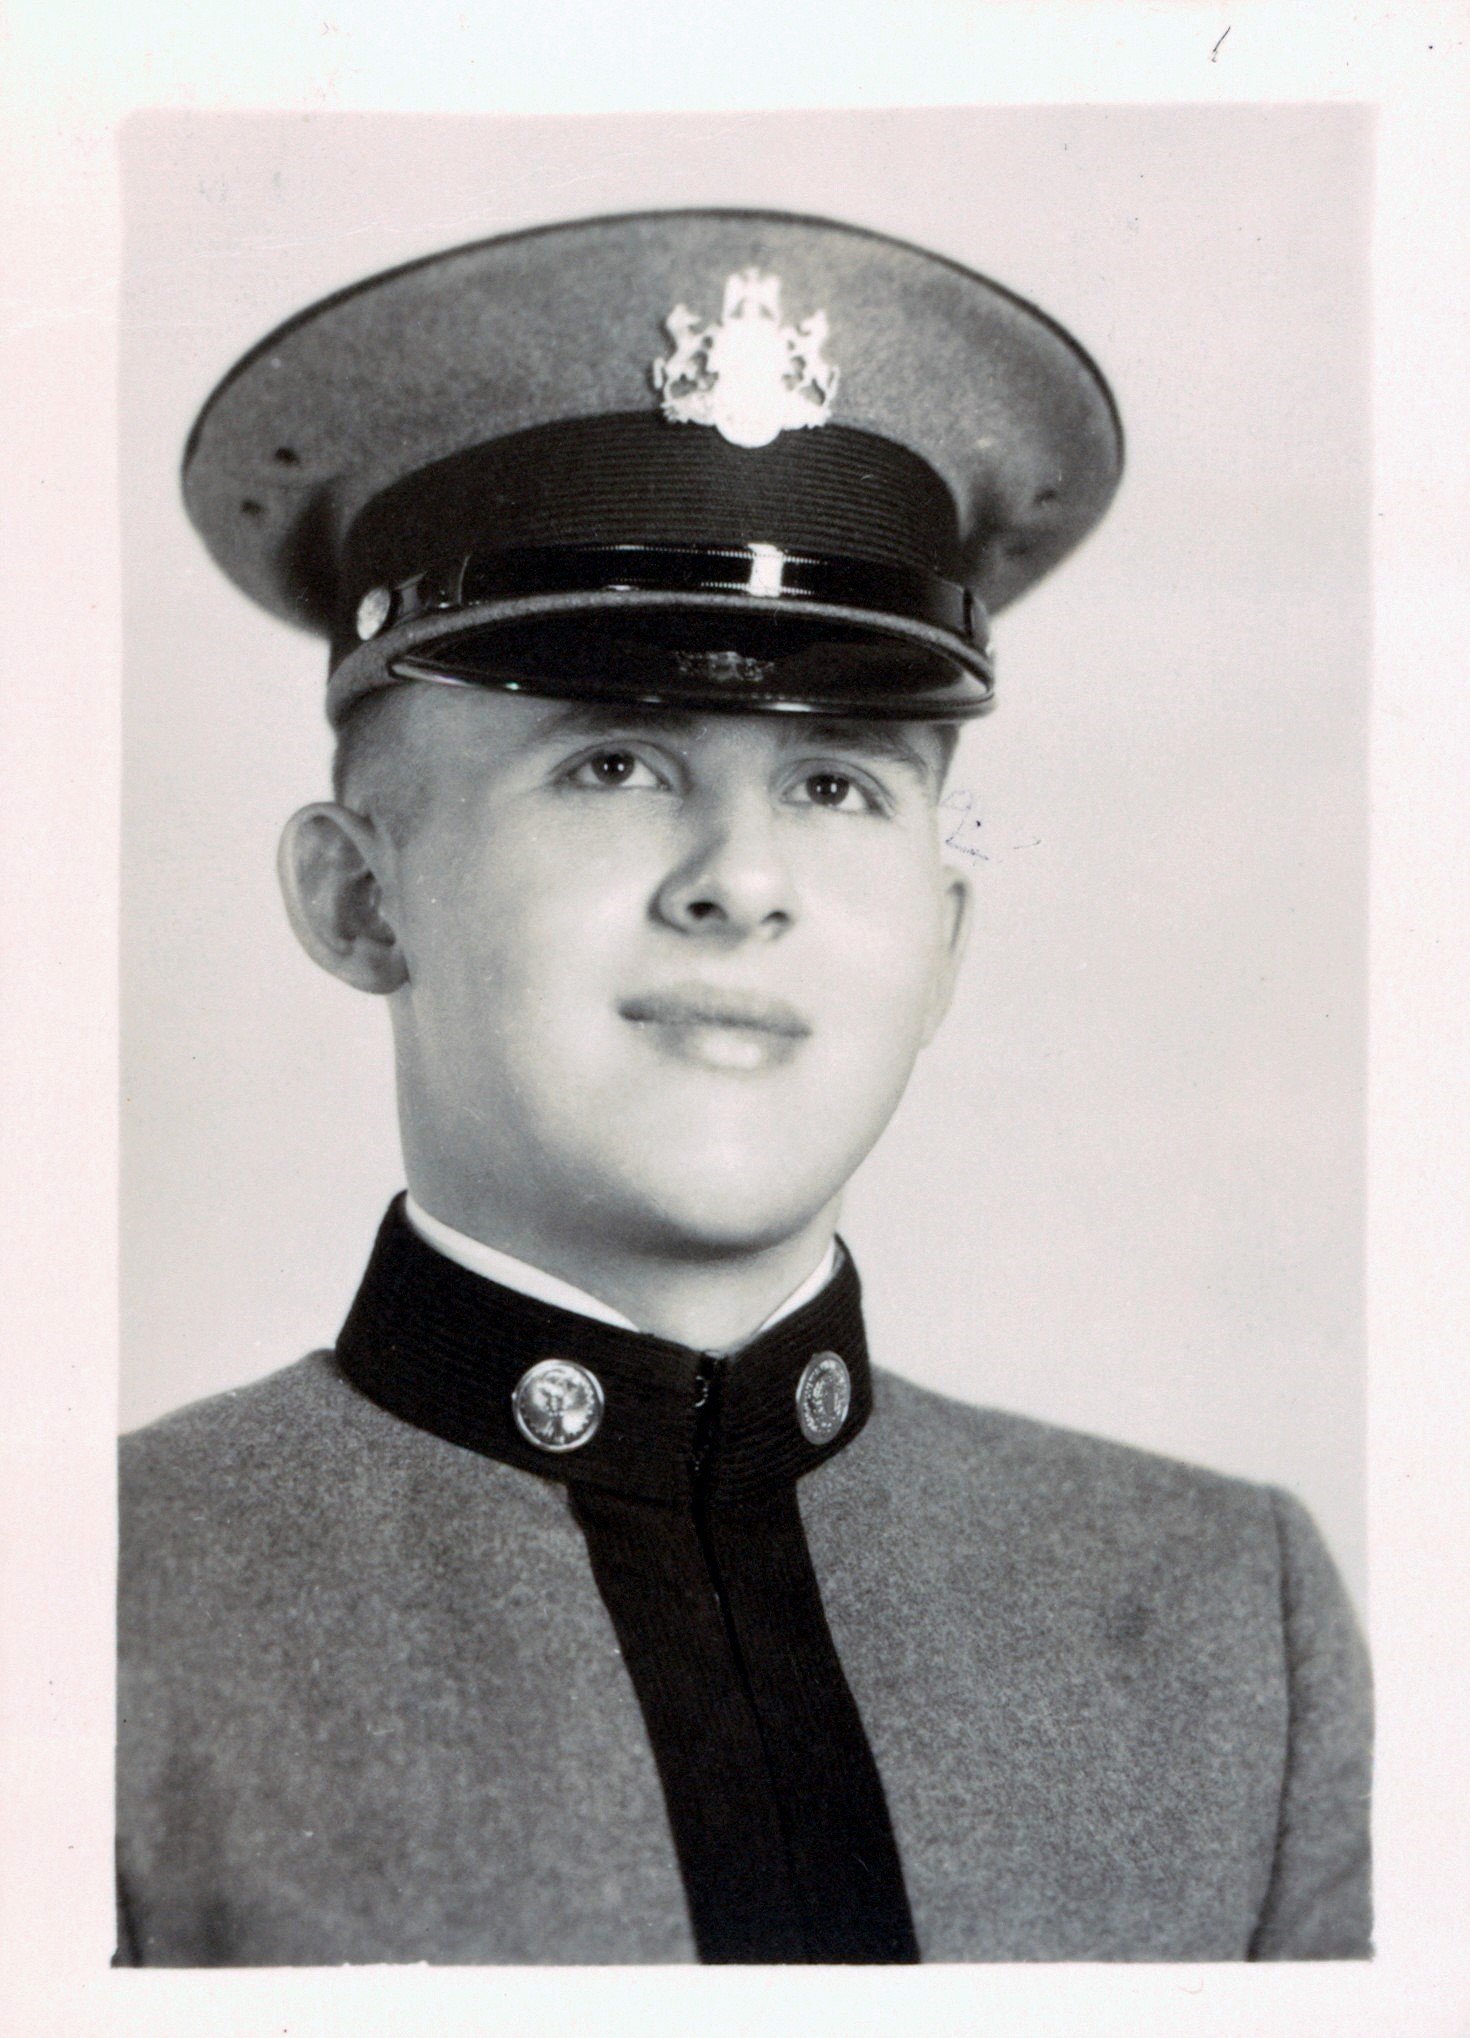
Work – some people’s professions are an important part of who they are. Celebrate that!
Activities/Hobbies – If you find you have a lot of pictures with similar themes like an activity or hobby, it’s fun to create a board highlighting those

3. Digital Posters are easy and look beautiful and classy. Many online photo sites have ready-made collage poster templates that you can easily click and drag photos into.
Once you select the size of your posters, decide right away if you want to purchase frames or adhere the print to foam board for an inexpensive option. This will give you time to source them. To save yourself a few headaches, stick to standard-sized posters. For example, you can usually find 20x30 posters, foam board, and frames, which is a good size for this purpose.
If you are working with a deadline, make sure you select a photo site or printer that can meet that deadline. Scope out the same-day printing options in your area. Some of the chain stores print poster-size prints onsite or you may be able to find a local printer. If you are traveling, see if they have a location where you can pick up the print when you get there so you don’t have to travel with it.
4. Use photo smart adhesive for traditional photo boards. If going digital isn’t your thing, creating boards with physical pictures is awesome, too. My best advice…be mindful of the adhesive that you use. Use an adhesive that can easily be removed without too much hassle after the funeral and won’t leave a sticky residue on your photos. A few ideas include using photo corners or glue dots (removable kind). Even painter’s tape might be an option.
5. Slideshows are timeless and will last beyond the funeral. I love a photo board because it can really tell a story when done well, but a slideshow serves a different purpose. It’s not only something for the service, but it can be shared so easily, preserved, and enjoyed long after the photo boards have been tucked away or disassembled.
If you are looking for free slideshow-making tools, you can find them on both your Mac and PC. If you are a Mac user, iMovie is a good free option. If you are a PC user, Microsoft has a free built-in slideshow-making tool called Video Editor.


When you create a slideshow for a memorial service, there are a few things to consider.
Most people won’t sit through the whole thing so creating it in chronological order doesn’t really matter. In fact, it’s sometimes better not to so people watching for just a few minutes can see your loved one at all stages of life. And quite honestly, not fretting over putting the photos in chronological order makes it easier for whoever is creating it, especially if you are under a time deadline.
Save it in an mp4 format. This is the most standard format for videos. It will enable you to watch it on any type of screen, from computers to smart phones to tvs. It also works on both Macs and PCs so that will help if you aren’t sure of the technology available to you at the service (although I would recommend asking!).
Don’t rely on an internet connection to access your slideshow at the funeral home, church or wherever the service is being held. Save the slideshow on a flashdrive (mp4 format) so you KNOW you’ll be able to access it without internet connection issues.
Music is optional. I LOVE the magic of putting music to a slideshow, but the reality is, unless the slideshow is being shown during the service, you probably won’t be able to hear the music because people will be visiting. Actually, this is another timesaver when you are under the gun to get it done. You can always add music later.
Use as many pictures as you want and who cares if you use some of the same photos as you used on the boards. Remember, the slideshow will likely have a life beyond the boards. The beauty of a slideshow is that you can use as many photos as you want. It increases the length of the slideshow, but if it is on in the background during a visitation, length doesn’t really matter. If you are showing it during a service, I recommend keeping it to a reasonable length like maybe 10 minutes. Typically, I plan for 3-4 seconds per slide, so do the math to determine how long yours will be using the number of photos you have.
A small selection of framed photos are nice to display with memorabilia. If you already have some meaningful framed photos in your home, make it easy on yourself and display those. If the frames don’t have an easel on the back for setting on a table, you can usually find easels at your local craft or big box store. Interspersing memorabilia on a display table with framed photos can make a beautiful display.
Give yourself some grace as you are working through this process. Photos can be very therapeutic, but also bring out ALL the emotions. Don’t be afraid to ask for help from family, friends or a professional if you need it. Helping families going through loss can be a gift to both of you.
Overwhelmed with your photo mess? Getting started organizing your photos can be the hardest part! Grab our FREE GETTING STARTED GUIDE that includes tips for how to create a plan, teaches you how to take inventory of your collection, and provides the form to do it.

Holly Corbid is the Founder/Owner of Capture Your Photos, where we help you to organize, preserve, and share your lifetime of memories. Helping you touch hearts with your photos is our passion. We specialize in digital photo organization and work remotely with clients all over the country.
Holly is also the creator of The Photo Organizing Blueprint, an online course that provides a step-by-step guide to organizing your photos.
Find us at www.captureyourphotos.com or contact us here.